




TripMemo Product Team
Product & releases
13 min read•Published •Updated
Summary
Keep your originals safe, then choose one trip and a small set of favourites. Make a highlights album for quick browsing, a digital TripBook for photos with stories, or a printed book for something physical. Start with the outcome you want, not a target percentage of photos to delete.
Choose one thing you want to make from your holiday photos before trying to organise all of them. A highlights album is useful for quick browsing, a digital TripBook gives photographs their story, and a printed book gives you something to leave on the coffee table. Keep your originals safe and start with one trip.
If you have come home with 3,000 photos, you do not need a 3,000-photo project. You need a selection that makes you want to open it again. These nine ideas help you decide what that could be, whether the trip ended yesterday or several years ago.
We make TripMemo, an iPhone app for digital TripBooks. It is one option below, alongside projects you can make in your existing photo library or through a separate print provider. This guide helps you choose an outcome; our complete travel photo organisation guide covers the wider sorting and storage system.
Before You Start: Select Without Deleting
Find the trip by date in your photo library and make a working selection. Include a view that establishes the place, people you travelled with, an ordinary moment and a detail you would otherwise struggle to explain. Skip near-identical shots for now rather than stopping to make every decision.
An album is not automatically a separate backup. Apple explains that deleting a photo with iCloud Photos also deletes it on other devices using that account. Its album guide distinguishes deleting an album from deleting its photographs. Check your own service before removing originals.
Keep the first pass small enough to finish. The right number depends on the trip and your project, not a rule that only ten per cent of your photos deserve to survive.

9 Useful Things to Make From Your Holiday Photos
1. Make a Small Highlights Album
Create a named album with the pictures you would actually show somebody. Give it the destination and year so it is easy to recognise later. You can do this inside the photo library you already use.
Start here: choose one photograph from each part of the trip, then add the people and details missing from that first selection.
Example: a weekend album might include the train journey, your room's view, lunch, a walk and a photograph of the person you travelled with.
Best for: having something finished without learning another tool. An album can also become the selection you use for any of the projects below.
Honest limits: a selection of photographs may still need captions to explain the trip. Creating an album does not by itself create an independent backup.
2. Turn the Photos Into a Digital TripBook
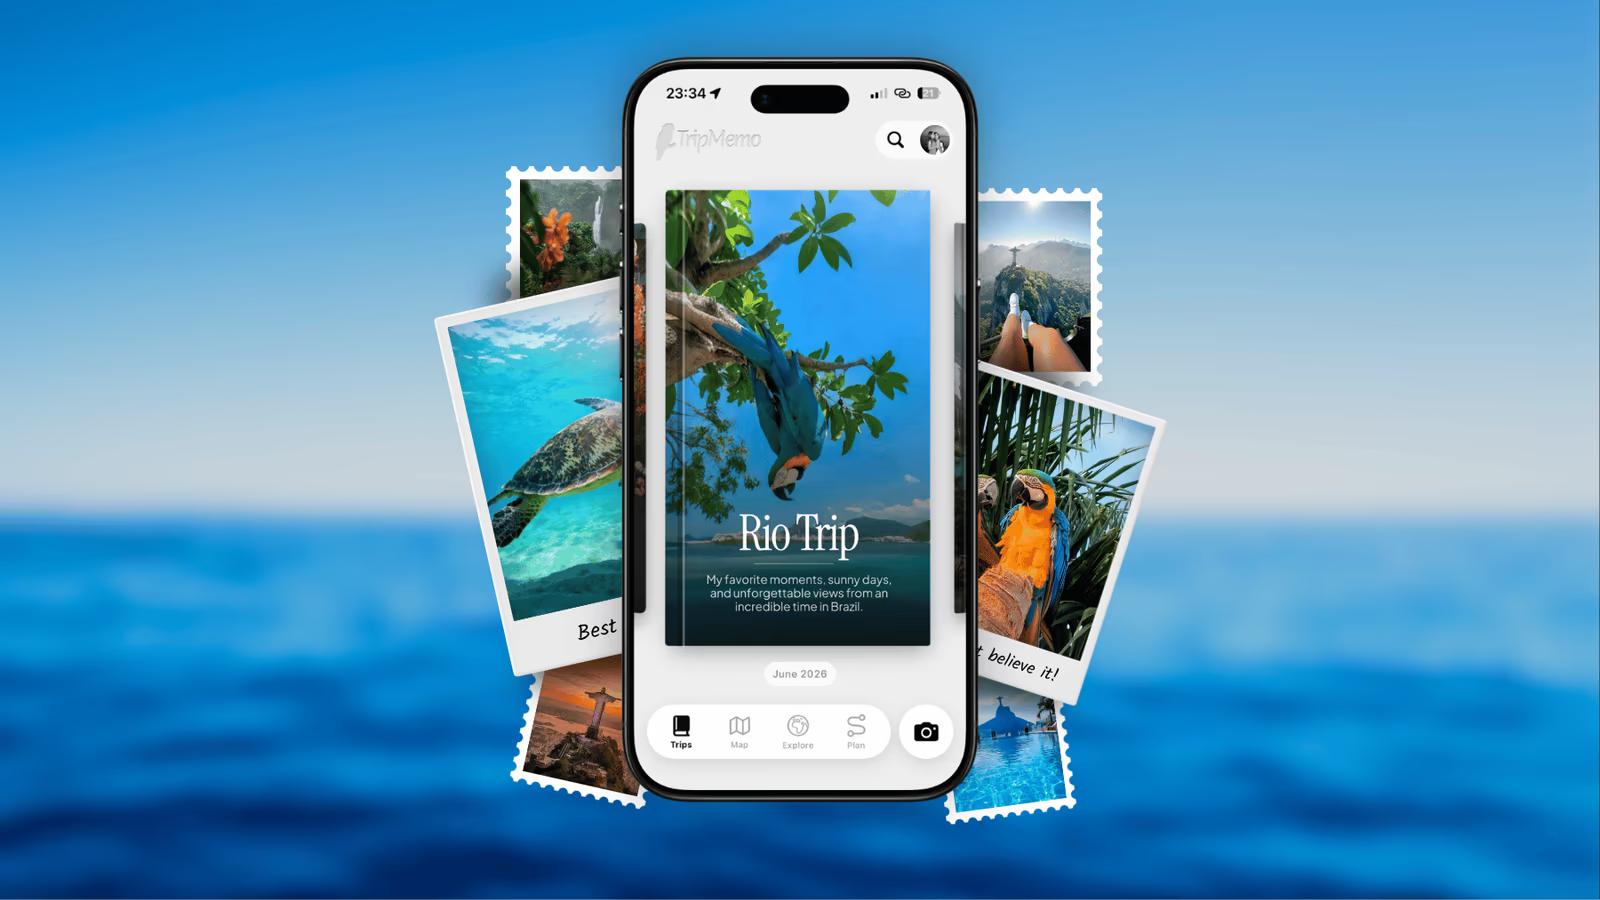
Put your selected photographs alongside the places and words that explain them. A digital TripBook in TripMemo lets you revisit a trip as a story, with photos and notes together rather than scattered through the camera roll.
Start here: choose one trip, give the book a recognisable title and add a few selected photographs. Check their order, then add context where the image alone is not enough.
Example: pair a rainy street photograph with the reason you remember it: the café you ducked into, the person who recommended it or what you talked about there.
Best for: a journey you want to read through again.
Honest limits: TripMemo is an iPhone app. A digital TripBook is the story you assemble, not a replacement for keeping your original files separately.
3. Bring Everyone’s Favourite Photos Into One Collection
Your companion may have the picture that completes your version of the trip. Ask for favourites and explanations rather than requesting every file from every phone.
Start here: invite each traveller to choose a few pictures you did not take, with a sentence about why they chose them. Agree who will see the finished collection.
Example: your photograph shows the view; your friend's shows everyone trying to unfold the map before you reached it. Keep both if they tell different parts of the day.
Best for: couples, families and group trips.
Honest limits: contributors need an agreed way to add their photos. A shared TripBook supports contributor invitations in the iPhone app. Relatives who only want to read can use a viewing link; other contributors can give their material to an organiser through an agreed method.
4. Make a Map of the Places You Want to Remember
Choose a handful of locations and attach the photographs that explain why they mattered. A personal travel map can include a tiny bakery or an unplanned stop as well as major sights.
Start here: pick three places you can identify confidently. Use photo information, your itinerary or a companion's recollection to check the names.
Example: mark the station, the lunch stop and the hill where you watched the sunset. Add a short note about what happened at each one.
Best for: trips remembered through their route.
Honest limits: missing location data does not make a photograph useless, but do not guess an exact pin. Our travel map guide explains the mapping project in more detail.
5. Make a Printed Photo Book
A physical book works well if you enjoy turning pages or want to share the trip with someone away from a screen. Choose a single trip or a clear theme so the project has a natural end.
Start here: use the same highlights selection in your chosen print provider's editor. Add a short opening note and check each page before ordering.
Example: give a coastal road trip one section per stop, with the day's view and a small detail from the journey between places.
Best for: a keepsake to keep on a shelf.
Honest limits: this is a separate printing project, not a TripMemo printing integration. Use original image files and check quality warnings, crops and delivery estimates with the provider.
6. Put One Photograph Where You Will See It
Choose a picture for a frame, your desk or a device wallpaper. Not every trip needs a book. Sometimes one image makes the memory accessible in daily life.
Start here: pick a photograph you enjoy looking at, then preview the crop for its destination. Keep faces and important details away from the edges.
Example: frame the view from a favourite walk and place a small card behind it with the date, place and the reason you chose it.
Best for: a simple finished result.
Honest limits: a photograph that works on a phone screen may not have enough detail for a large print, so check the actual file before ordering.
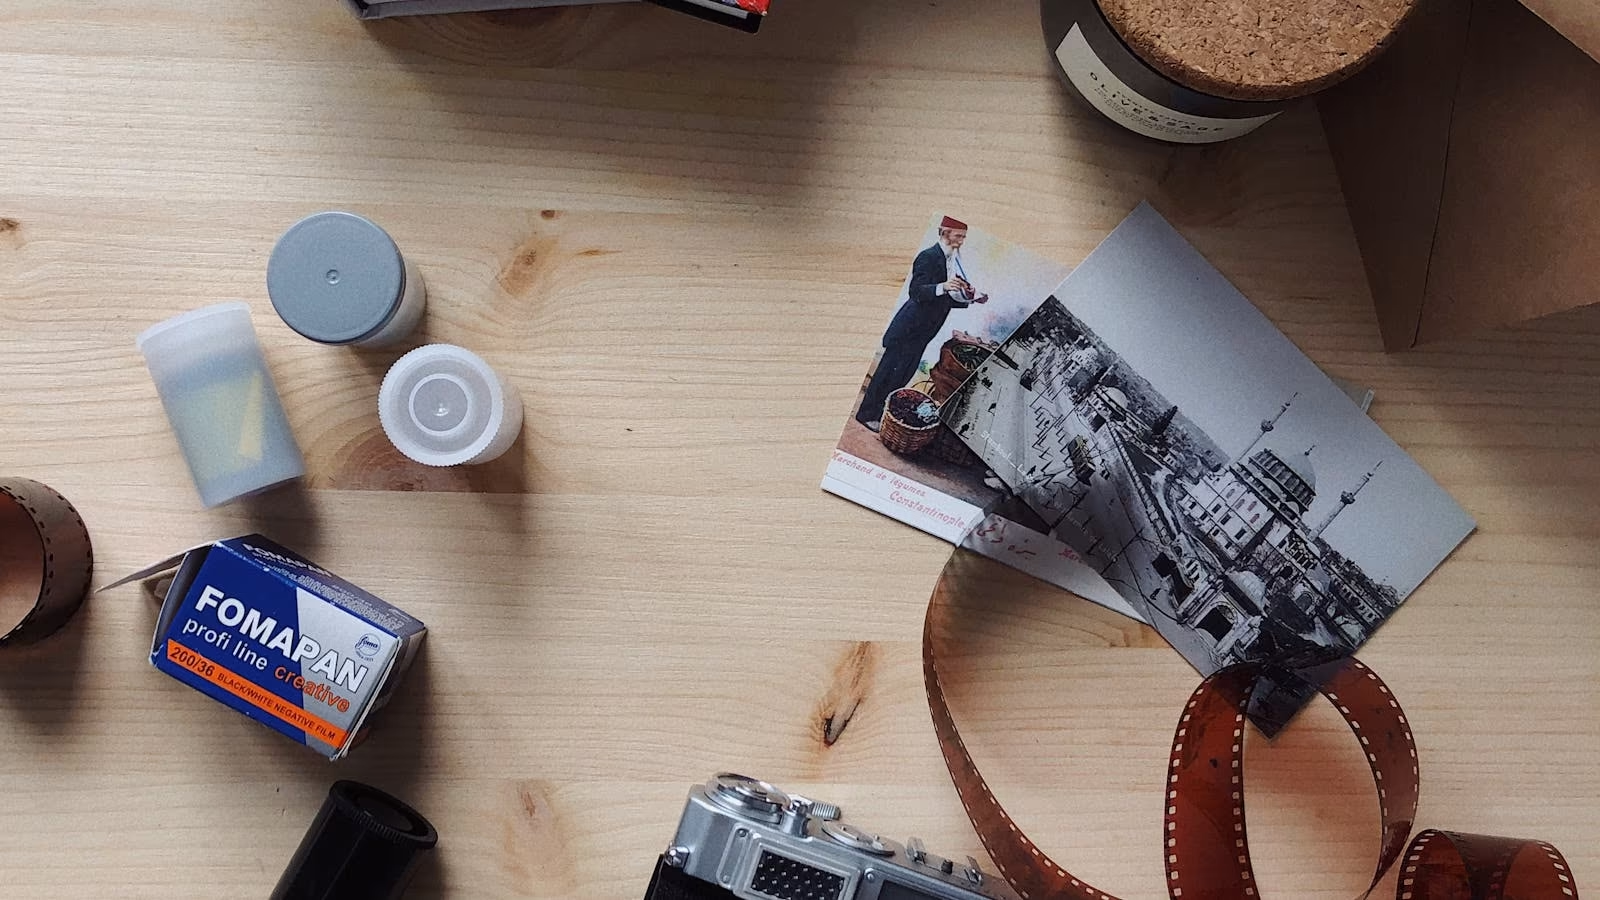
7. Pair the Pictures With Tickets and Small Souvenirs
Photograph a ticket, postcard or page from your notebook and place it beside a related picture. The object gives the scene another part of its story.
Start here: choose one souvenir and explain why you kept it. Cover booking references and personal details before photographing anything for sharing.
Example: pair a ferry ticket with a photograph from the crossing and the note you wrote while waiting to board.
Best for: a scrapbook-style collection. Use our digital travel scrapbook guide if you want to develop this into a more decorative project.
Honest limits: a photograph of a souvenir does not replace the physical object. Keep any treasured originals as well.
8. Make a Short Photo Recap to Watch Together
Arrange a small set of pictures into a slideshow or video using a tool you already know. Let each image stay long enough to understand it, and include a beginning and an ending.
Start here: select the opening scene, a few moments from the middle and a closing photograph. Preview it with the people who appear before sharing more widely.
Example: start with departure, follow the journey's main stops and finish with the photograph everyone remembers laughing about.
Best for: a family evening or a quick recap for companions.
Honest limits: video creation is a separate project here, not a claimed TripMemo export feature. If publishing it, use music you have permission to include.
9. Send Someone a Photo With the Story They Might Have Missed
Choose a photograph for one person rather than an audience. Write what you remember about the moment and why you thought they would enjoy it.
Start here: find a photo of a companion or a place they helped you discover. Add a few personal lines and send it through your usual private channel.
Example: send your travel partner the picture you took while they were choosing lunch, with a note about the unexpected afternoon that followed.
Best for: doing something meaningful with only one or two photographs.
Honest limits: a message captures one moment, rather than organising the whole trip. If you want to turn it into a present, our anniversary travel keepsake ideas cover gift-making as a separate project.
Join the TripMemo
Newsletter
Unsubscribe anytime. Read our privacy policy.
Quick Comparison: What Should You Make First?
Choose a highlights album for the simplest start, a digital TripBook for the story, or a shared collection when the missing photographs are on someone else's phone. Pick one outcome now. The same selection can become a print or recap later.
| Project | Format | Photos | Best for | Together | First step |
|---|---|---|---|---|---|
| Highlights album | Digital | Small set | Quick browse | Optional | Choose favourites |
| Digital TripBook | Digital | One trip | Photos + story | Optional | Add context |
| Shared collection | Digital | Several phones | Group memories | Yes | Ask companions |
| Photo map | Digital | Known places | Route + stops | Optional | Check locations |
| Printed book | Physical | One trip | Page-by-page | Optional | Preview layout |
| Photo on display | Either | One photo | Daily reminder | Optional | Check the crop |
| Scrapbook | Either | Photos + objects | Small details | Optional | Choose a souvenir |
| Photo recap | Video | Short selection | Watch together | Optional | Order the scenes |
| Photo + message | Either | One or two | Personal note | Optional | Choose a recipient |
A Simple Plan for Your First Photo Project
Copy these prompts into a note before you start. They work for a digital TripBook, a highlights album or a printed book.
- Trip: where you went and when.
- Who it is for: yourself, your companions or someone who stayed home.
- What you will make: choose one of the nine projects above.
- The story to include: an arrival, a favourite place, a shared moment, an unexpected detail and an ending.
- What is missing: a companion’s photograph, a place name or a caption to check.
- Finished means: you can open the selection from beginning to end and understand why these moments belong together.
For example: “Our coastal weekend, for the two of us. A digital TripBook with the arrival, the beach walk, lunch and the journey home. Ask for the photo from the lookout, then check the captions together.” This is a planning example, not a claim about a real customer’s trip.
If that is the kind of result you want, start your digital TripBook in TripMemo for iPhone. If you only want a few favourites in one place, start with an album in your existing library.
A Worked Example: From 3,000 Photos to One Small Project
This is an illustrative workflow, not a timed product test. Imagine a week away with roughly 3,000 photographs across two phones. Your first project is a digital TripBook with twenty-four selected pictures. Twenty-four is a useful constraint for this example, not a recommended number for every trip.
- Make a first selection: find the trip dates and mark pictures you want to revisit. Choose roughly three from each of the seven days, then add three that explain the journey as a whole. Keep the rest of the originals outside this selection.
- Fill the story gaps: ask your companion for a missing group photograph or a moment you did not capture. Swap it into the selection if it adds something. Check uncertain places or dates and leave unknown details out.
- Add context and finish: arrange the selected photos, write a few captions and choose a cover. Read the book from beginning to end, check the sharing option and open it together. Stop with a finished first version before starting another project.
A useful caption answers the question the image leaves open. “Lunch by the harbour” names a setting. “We missed the ferry and found this lunch spot while waiting” explains why that ordinary photograph belongs in the story, if that is what actually happened.
%20copy%202.avif&w=384&q=75&dpl=dpl_EPXMHFF758wZiFUsuw99japedPYQ)
%20copy%203.avif&w=384&q=75&dpl=dpl_EPXMHFF758wZiFUsuw99japedPYQ)

One trip. A few favourites.A story worth opening again.
.avif&w=96&q=75&dpl=dpl_EPXMHFF758wZiFUsuw99japedPYQ)
If the Camera Roll Still Feels Overwhelming
Keep the useful part of a three-pass approach: first mark candidates, then choose the set for your project, then add context. You can do those passes on different days. There is no guaranteed one-hour finish, and you do not need to delete anything to make progress.
For bursts and near-duplicates, choose one frame for the project and leave library cleanup for another session. For older trips, check dates and places against other records rather than assuming the story is lost. If you cannot identify a detail, a caption can acknowledge that honestly.
For photos spread across devices, decide where the project will live before transferring files. If you are choosing software, see apps for organising travel photos. For backups, folder structures and the full archive, return to the organisation guide.
The next useful step is small: name one trip, select a handful of photographs and choose what you want to open when you are done.
FAQ: Using Travel Photos After a Holiday
What should I do with thousands of travel photos?
Keep your originals safe, choose one trip and make a small selection before deciding on an output. A highlights album, digital TripBook, shared collection or printed book gives the selected photos a purpose. You do not need to sort your entire library first.
How many photos should I keep from a holiday?
There is no correct percentage. Keep originals you value and choose a smaller set for the project you are making. Include the people, places and details that explain the trip, and leave near-identical images out of the selection without deleting them from your library.
Can I make a travel journal from photos after the trip?
Yes. Choose one trip, arrange selected photos around its days or places and add captions about what happened. TripMemo for iPhone can bring those photos, places and notes into a digital TripBook. Check uncertain dates and locations rather than inventing missing details.
Does putting photos in an album free up storage?
Usually, no. An album organises items in a photo library; it is not necessarily an independent copy. Before deleting originals, check how your service handles synchronisation and confirm that any separate backup is complete and readable.
What if my travel photos are on several phones?
Ask each traveller for a small selection and the context behind their pictures. Use an agreed transfer method or contributor invitations for a shared TripBook. TripMemo contribution happens in the iPhone app; a browser viewing link is for reading the finished book.
Can I print a book directly from TripMemo?
This guide uses TripMemo for digital TripBooks. For a physical photo book, use your original image files and captions in a separate print provider’s project. Check its crop previews, image-quality warnings and delivery details before ordering.
Related reading:
- How to Organise Travel Photos
- Apps for Organising Travel Photos
- How to Make a Digital Travel Scrapbook
- Travel Photography for Memory
- Documenting Details After a Trip
Start with one trip and a handful of photos. Download TripMemo for iPhone, choose a few favourites and add the story behind them.