




TripMemo Product Team
Product & releases
9 min read•Published
Summary
For sharp safari photos, use a telephoto zoom that reaches at least 300 to 400mm, a shutter speed of 1/1000 second or faster for moving animals, continuous autofocus on the animal's eye, and auto ISO so the camera keeps the shutter fast as the light changes. Shoot on the early morning and late afternoon drives, when the light is warm and animals are most active, rest the lens on a beanbag rather than holding it, and ask your guide to switch off the engine for still shots. On a phone, use the telephoto lens rather than digital zoom and take wider photos of animals in their landscape.
For sharp safari photos, use a telephoto zoom that reaches at least 300 to 400mm, keep the shutter at 1/1000 second or faster for moving animals, focus on the eye, and shoot on the early morning and late afternoon drives. Rest the lens on a beanbag instead of holding it, ask your guide to switch the engine off for still shots, and let auto ISO keep the shutter fast as the light changes. On a phone, use the telephoto lens rather than digital zoom, and favour wider photos of animals in their landscape.
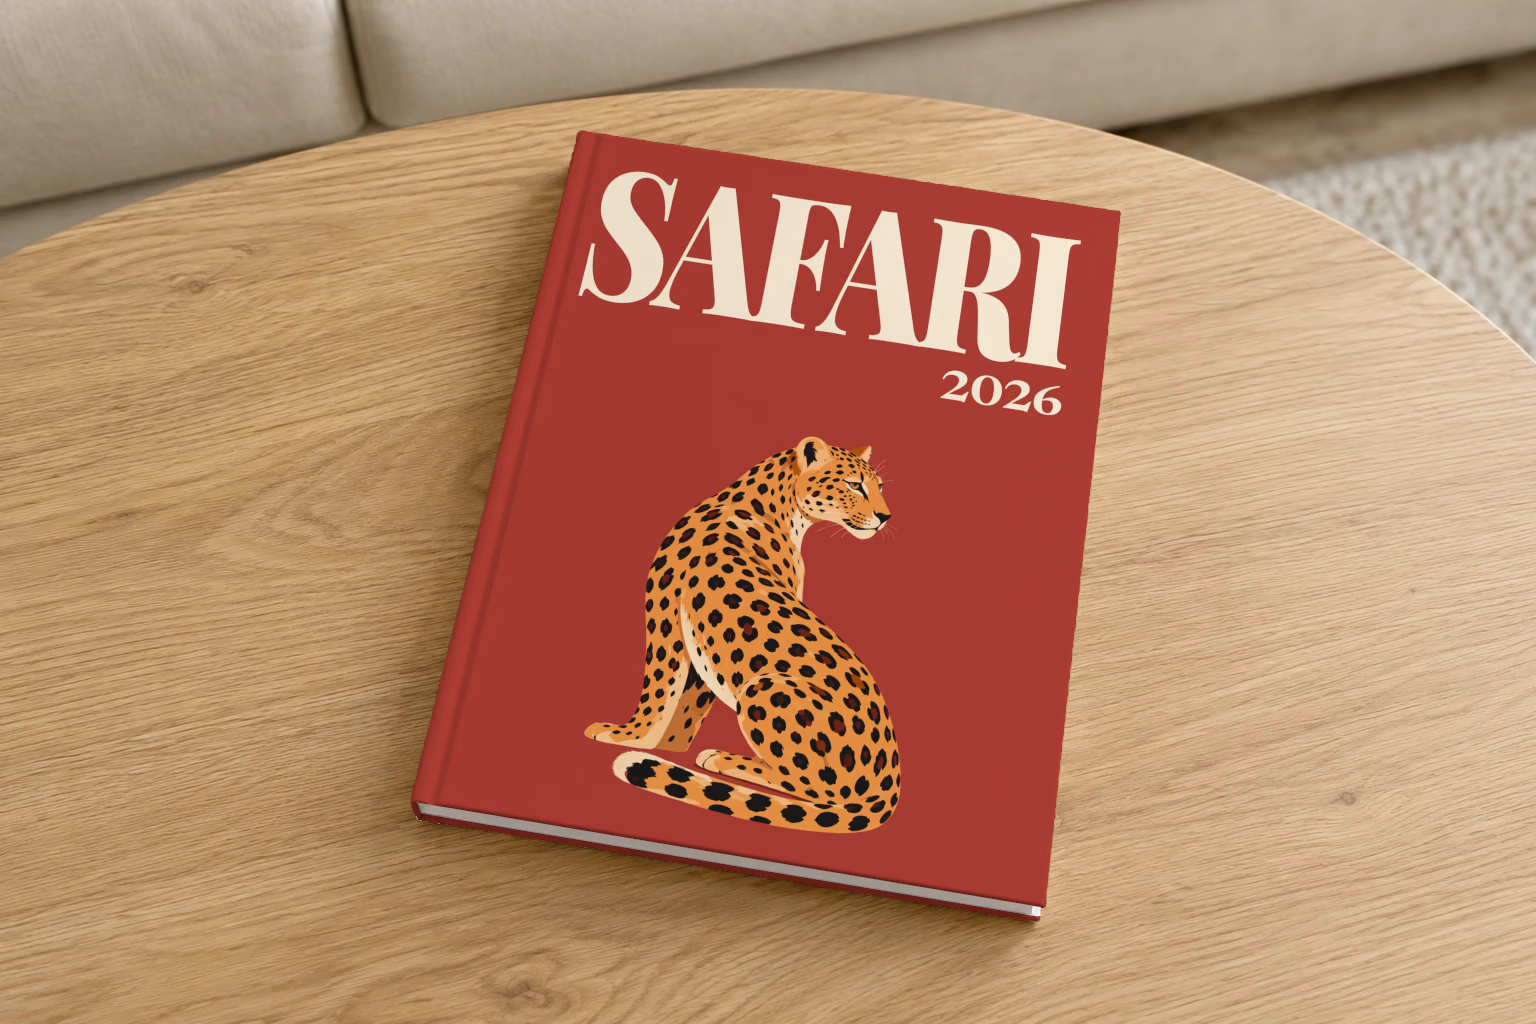
Those are the essentials. Below are the settings, gear and habits that make the difference, from the first drive to the evening back at camp. When you are home, our safari photo books turn the best of them into a printed book under a drawn leopard cover or your country's.
The Best Camera Settings for Safari
Animals move, light changes fast at dawn and dusk, and you are often shooting from a vehicle. These settings handle all three.
| Setting | Moving animals | Resting animals | Birds in flight |
|---|---|---|---|
| Mode | Shutter priority or manual with auto ISO | Aperture priority or manual with auto ISO | Shutter priority or manual with auto ISO |
| Shutter speed | 1/1000s or faster | 1/250s to 1/500s, braced | 1/2000s or faster |
| Aperture | Widest available (f/5.6 to f/6.3 on most zooms) | Widest available | f/6.3 to f/8 for more depth |
| Focus | Continuous (AF-C or AI Servo), animal eye detection on | Single point on the eye | Continuous, wide area or tracking |
| Drive | Burst | Single or burst | Burst |
Why shutter priority with auto ISO. The fast shutter freezes movement and camera shake, which cause more blurred safari photos than anything else. Auto ISO then raises the sensitivity when the light drops, so you are never caught with a slow shutter as the sun goes down. Modern cameras handle ISO 3200 to 6400 well, and a little grain is far better than blur.
Expose for the highlights. Bright sky behind an animal fools the meter into a dark subject, while a dark animal against pale grass can blow out the grass. Use exposure compensation (+0.7 for animals against a bright sky, -0.3 to -0.7 for a pale animal in shade) and check the histogram after the first few frames of each sighting.
Shoot RAW if your camera allows it. It gives you room to recover shadows on a backlit lion or to correct white balance in the orange light of the late afternoon.
What Lens to Bring
The lens matters more than the camera body.
- Main lens: a telephoto zoom that reaches 300 to 400mm or more. A 100-400mm or a 150-600mm on a full-frame camera (or an equivalent on a crop sensor) covers most sightings. A 70-200mm alone is often too short, even in reserves where vehicles get close.
- Second lens or a phone for wide shots. Elephants at the vehicle, the camp, the sky and the landscape need a wide angle. A 24-70mm or your phone covers this.
- Two bodies, if you have them. Changing lenses on a dusty drive invites dust onto the sensor. With a telephoto on one body and a wide lens on the other, you never need to swap.
On a phone, the longest built-in lens (often 3x to 5x on recent models) is your best tool. Past that, digital zoom crops the image and the photo goes soft.
Use the Light: Dawn and Dusk Drives
The best safari light comes in the first two hours after sunrise and the last two before sunset. It is warm, low and soft, it shows the texture of fur and the shape of the land, and it puts catchlights in animals' eyes. Many animals are most active in the cooler hours too, which is why most game drives run then.
- Side light shows texture: the wrinkles on an elephant, the mane of a lion.
- Backlight at sunrise or sunset turns dust, breath and fur into a glowing outline. Expose for the bright edges and let the animal go dark.
- Midday light is harsh. Use it for animals in shade, close details, or black and white.
- Silhouettes against a sunset sky need nothing more than a clean outline: giraffes, acacia trees and elephants work best.
Join the TripMemo
Newsletter
Unsubscribe anytime. Read our privacy policy.
Keep the Camera Steady in the Vehicle
- Bring a beanbag. Rest the lens on it on the door, window ledge or roof rail. Pack it empty and fill it with rice or beans when you arrive; some lodges and operators provide beanbags in the vehicles, so ask first.
- Ask for the engine off. A running engine shakes the whole vehicle. Guides are used to the request for still shots.
- Ask everyone to keep still while you shoot. One person shifting their weight moves every lens on board.
- Leave the tripod at home. There is no room for one in most vehicles, and many reserves do not allow you out of the vehicle anyway.
Composition: Tell a Story, Not Just a Portrait
- Get the eye sharp. If the eye is soft, the photo is soft. Animal eye detection on recent cameras does this for you.
- Shoot at eye level. Low angles look more intimate than looking down from a high vehicle. In an open vehicle, sometimes simply sitting lower helps.
- Leave space in front of the animal, in the direction it is looking or walking.
- Wait for behaviour. A yawn, a look up, a cub climbing on its mother, a drink at the waterhole. Sit with a sighting and the photo usually comes after the first ten minutes, not in the first ten seconds.
- Show the landscape. A small elephant on a huge plain tells more about the place than another close-up. Mix portraits with wide scenes so a set of photos does not repeat.
- Photograph the people. Your guide, your tracker, the vehicle, the sundowner, the camp at night. These are the photos you will look for later.
Dust, Batteries and Memory Cards
- Dust gets everywhere. Keep the camera in a bag or under a cloth between sightings, carry a rocket blower, and change lenses inside your tent, not on the drive.
- Charging can be limited. Some camps run on solar power, with charging in the main area or at set hours. Bring at least two spare batteries.
- Bring more memory than you think. Burst shooting fills cards fast. Several smaller cards spread the risk if one fails.
- Back up each evening to a laptop, a portable drive or your phone, and start each day with empty cards.
- Check the luggage limit for light aircraft. Bush flights between camps often limit luggage to around 15 kg in a soft bag, including your camera gear. Ask your operator before you pack.

Your trip, printed.Start it in the TripMemo app.

Safari Photography With a Phone
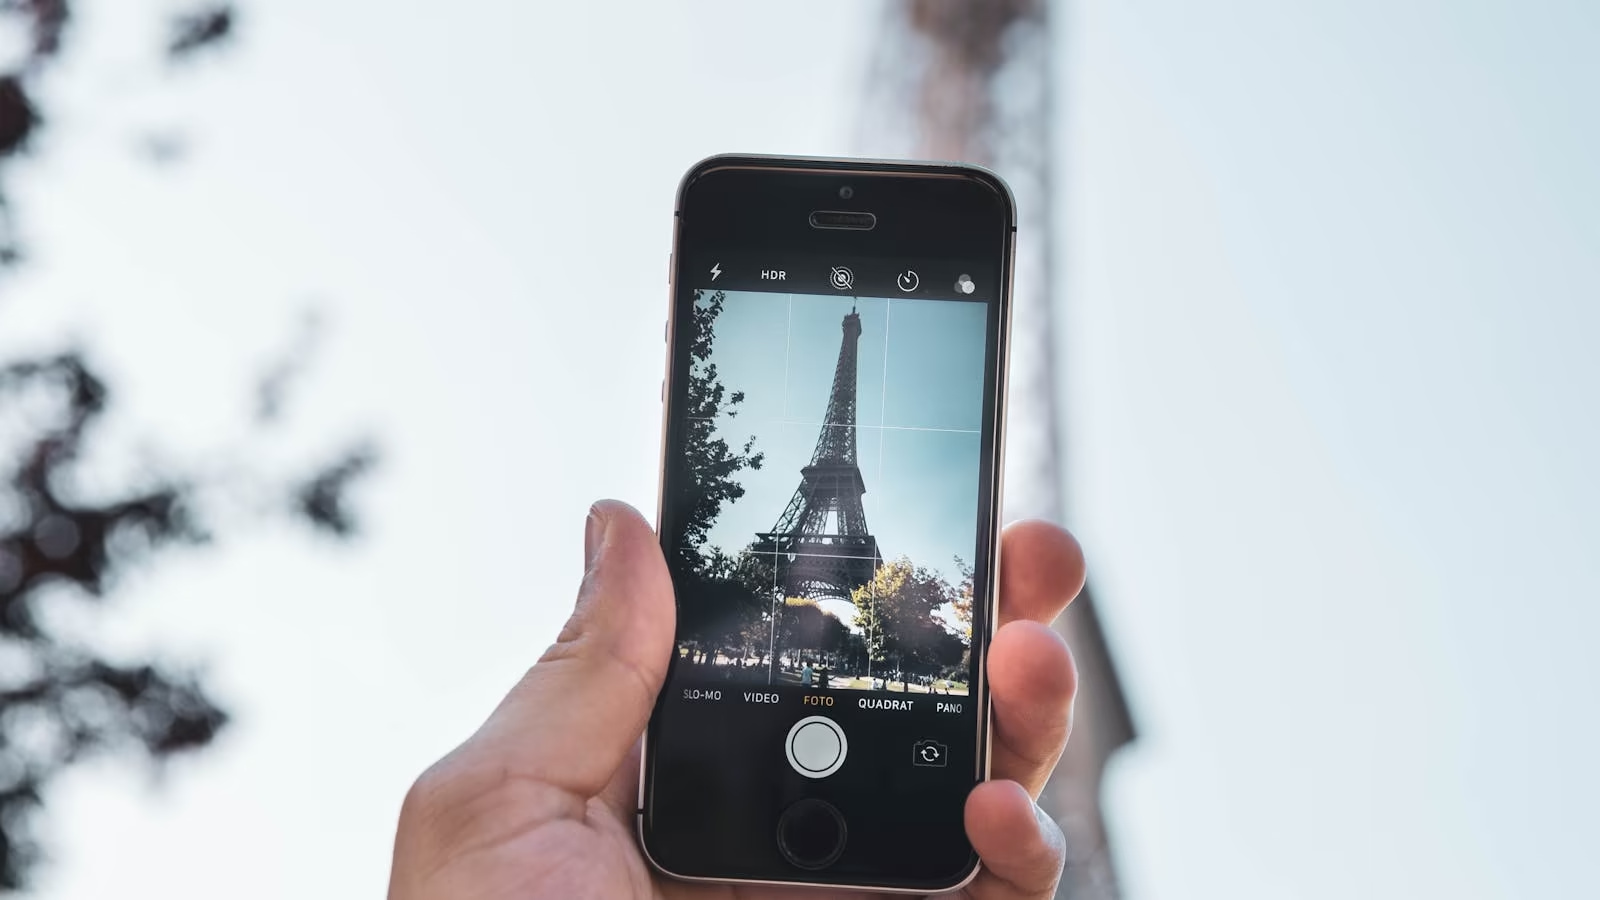
A phone will not replace a long lens for a leopard in a tree 100 metres away, but it takes excellent safari photos within its range.
- Use the telephoto lens, not digital zoom. Tap the 3x or 5x button rather than pinching past it.
- Shoot wide on purpose. Landscapes, close sightings, the vehicle and the camp suit a phone perfectly.
- Tap to focus on the animal and slide the exposure down a little against a bright sky.
- Use burst mode for movement. On an iPhone, slide the shutter button to the left to shoot a burst.
- Try binoculars. Holding the phone's main lens to one eyepiece of a pair of binoculars gives a lot of extra reach. It takes practice, so try it at home first.
- Record video too. A few seconds of sound, the guide's commentary or a herd moving past is worth having, and you can take still frames from it later.
Be a Good Guest
- Follow your guide's rules. Stay seated, keep your arms inside the vehicle and keep your voice low near animals.
- No flash on animals. It disturbs them, and at night it can dazzle animals that are hunting or being hunted.
- Do not ask the guide to break the reserve's rules, such as driving off-road where it is not allowed or getting closer to a stressed animal.
- Put the camera down sometimes. Some sightings are better remembered than photographed.
After the Trip: Choose the Keepers
A week on safari can leave thousands of near-identical frames. Go through one sighting at a time and keep the frame where the eye is sharp and the animal is doing something. Our guide to organising thousands of travel photos has a quick method for the first cull, and the safari photo book page covers choosing and ordering the best for print.
Frequently Asked Questions
What are the best camera settings for safari?
Shutter priority or manual with auto ISO, 1/1000 second or faster for moving animals, the widest aperture, continuous autofocus and burst mode. For resting animals, about 1/250 second when braced.
What lens do I need for a safari?
A telephoto zoom that reaches at least 300 to 400mm, such as a 100-400mm or 150-600mm. Use a wider lens or a phone for landscapes and the camp.
Can you take good safari photos with a phone?
Yes, for landscapes, close sightings and the people around you. Use the telephoto lens rather than digital zoom.
When is the best light for safari photography?
The first two hours after sunrise and the last two before sunset, when the light is warm and many animals are most active.
How do I keep my camera steady in a safari vehicle?
Rest the lens on a beanbag, ask your guide to switch the engine off, and ask everyone in the vehicle to keep still while you shoot.
When the trip is over, a safari photo book gives your best sightings the space they deserve.