




TripMemo Product Team
Product & releases
11 min read•Published
Summary
Choose one trip, cut your photos to a shortlist of about two or three for every page you want, and pick a binding and size. Plan the book as a story (an opening, the days or places in order, a close), lay out one to four photos per page, add short captions, then give it a title and check every page before you order. Most trips take an evening or two.
To make a travel photo book, pick one trip, cut your photos to a shortlist, choose a binding and size, then lay the pages out as a story: an opening, the days or places in order, and a close. Add a short caption where a photo needs one, give the book a title, and check every page before you print. With a good shortlist, most trips take an evening or two.
This guide walks through all nine steps, with the numbers that matter: how many photos to keep, how many pages that makes, and which format suits which trip. We make TripMemo photo books, so the examples use our studio, but the method works whichever service you print with.
The 9 Steps at a Glance
| Step | What you do | Time |
|---|---|---|
| 1. Choose the story | One trip, one place or a whole year | 5 minutes |
| 2. Shortlist your photos | Keep the best two or three for each page | 1 to 2 hours |
| 3. Choose a format and size | Hardcover, softcover or layflat; A5, A4 or square | 5 minutes |
| 4. Work out the page count | Photos divided by photos per page, plus title pages | 5 minutes |
| 5. Plan the flow | An opening, the days or places in order, a close | 15 minutes |
| 6. Lay out the pages | One to four photos per page, varied | 1 to 2 hours |
| 7. Add captions and notes | Names, dates and the moments behind the photos | 30 minutes |
| 8. Design the cover and title | Cover art, title, subtitle and spine | 15 minutes |
| 9. Proof and order | Check every page, then print | 20 minutes |
1. Decide What the Book Is About
Start by choosing the story, not by opening your camera roll. A travel photo book works best when it has a clear subject:
- One trip. A honeymoon, a road trip, a family holiday or a city break. This is the classic travel photo book (a holiday photo book in the UK, a vacation photo book in the US), and it reads like a story from the first day to the last.
- One place. Every visit to the same island, city or family home, gathered over the years.
- One year. Several shorter trips in one year in review photo book, each with its own chapter.
If you are torn between two trips, make two books. They are quicker to finish, easier to give, and two or three can be ordered together in one checkout at a lower price per book.
2. Shortlist Your Photos
The biggest difference between a book people pick up and one they flick through is the shortlist. Aim to keep about two or three photos for every page you want, so a 40-page book needs roughly 80 to 120 photos, not 1,200.
Work in passes:
- First pass: remove duplicates, screenshots, blurred shots and near-identical bursts. Keep the sharpest of each.
- Second pass: for each day or place, star the photos you would show someone first.
- Final pass: make sure people appear as well as places, and keep a few details (a menu, a ticket, a sign, the view from the room) that bring back the feel of the day.
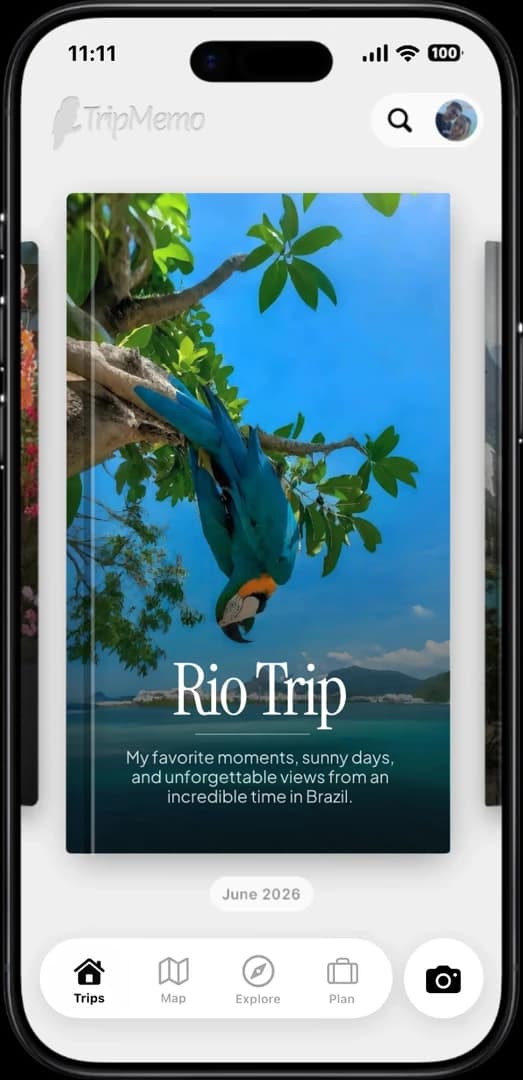
If your library needs sorting before you can even start, our guide to organising thousands of travel photos covers that first. The TripMemo iPhone app can also sort a trip's photos by day and place for you.

3. Choose the Format and Size
The binding sets the feel of the book and the range of pages it can hold. These are the formats in the TripMemo studio:
| Format | Pages | Paper | Sizes | Best for |
|---|---|---|---|---|
| Hardcover | 24 to 298 | 200gsm gloss photo paper | A5 or A4 portrait, 21 cm square | The classic coffee-table travel photo book |
| Softcover | 20 to 298 | 150gsm gloss photo paper | A5 or A4 portrait, 21 cm square | Weekends, city breaks and lighter gifts |
| Layflat | 18 to 120 | 190gsm lustre photo paper | A4 landscape, 21 cm square | Panoramas across both pages, no fold |
Size: A5 portrait (14.8 × 21 cm) is easy to give and to keep on a shelf. A4 portrait (21 × 29.7 cm) shows landscapes and group photos larger. A 21 cm square book is the easiest to lay out when your photos are a mix of portrait and landscape.
4. Work Out Your Page Count
Divide the number of photos on your shortlist by the number of photos you want on a typical page, then add a few pages for the title, a route map and any day openers. Round up to an even number, because pages are printed in pairs.
For example, 110 photos at about two per page is 55 photo pages; add a title page, a route map and six day openers and you need a 64-page book. Our guide to how many photos go in a photo book has a chart for every page count and a calculator that does this for you.
As a rough guide by trip length:
- A weekend away: 24 to 40 pages
- A one or two week holiday: 40 to 80 pages
- A month or a gap year: 100 pages or more, or one book per country
Join the TripMemo
Newsletter
Unsubscribe anytime. Read our privacy policy.
5. Plan the Flow Before You Lay Out a Page
Sketch the book as a sequence of spreads (the two pages you see side by side when the book is open). A simple plan for a ten-day trip:
- Opening: a title page and one strong photo that sets the scene.
- The route: a map of where you went. The TripMemo studio can add a route map page drawn from your trip's places.
- The days or places, in order: a short opening page for each day or place, then its photos.
- The close: the last evening, the journey home, and a final line on the back cover.
Inside coverTitle page
Route mapOpening photo
Day 1: VeniceArrival
CanalsBest of the day
Day 3: FlorenceDuomo
FoodA note
Day 6: AmalfiThe view
Beach daysLast night
Chronological or by place? Date order is the easiest to follow and suits most trips. If you stayed in a few places for several days each, grouping by place reads more naturally. Either way, keep each day or place together.
6. Lay Out the Pages
Good layouts vary the rhythm. If every page holds four photos the book feels like a contact sheet; if every page holds one, it feels thin.
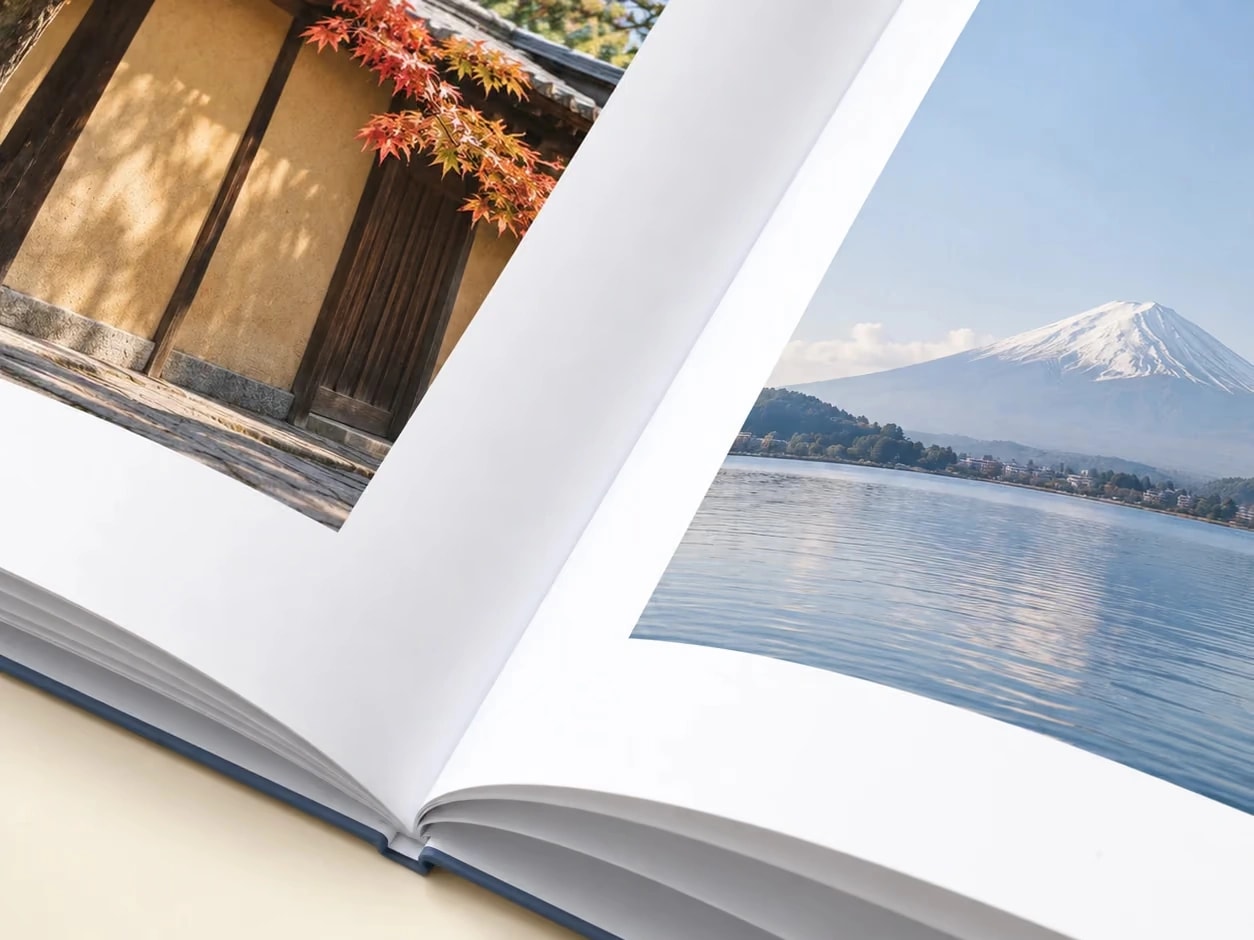
- One photo on a page for the shots that deserve room: the view, the portrait, the moment everyone remembers. Print these full bleed (to the edge of the page) for impact, or with a white border for a gallery feel.
- Two or three photos on a page for most of the book. Pair a wide shot with a detail, or a place with the people in it.
- Four photos on a page for busy days, food, street details and sequences.
- Open each spread with your strongest photo, and avoid putting two very similar photos side by side.
In the TripMemo studio you choose how many photos to put on each page (one to four), and every photo can be moved, swapped, zoomed and cropped. The studio also checks every photo's resolution at the size it will print and tells you if one is too small, so nothing prints soft.
7. Add Captions, Dates and Notes
Photos show what a place looked like; captions keep what it felt like. You do not need to caption everything. Add a line where it brings something back:
- Names: the café, the beach, the guesthouse, the people you met.
- Dates and places: a day number or date on each opening page helps the book read in order.
- The story behind the photo: "the night the ferry was cancelled", "the best pasta of the trip".
Keep captions short and consistent, and put longer memories on their own note page. If you are stuck, our guide to captioning travel photos has prompts and examples.
8. Design the Cover, Title and Spine
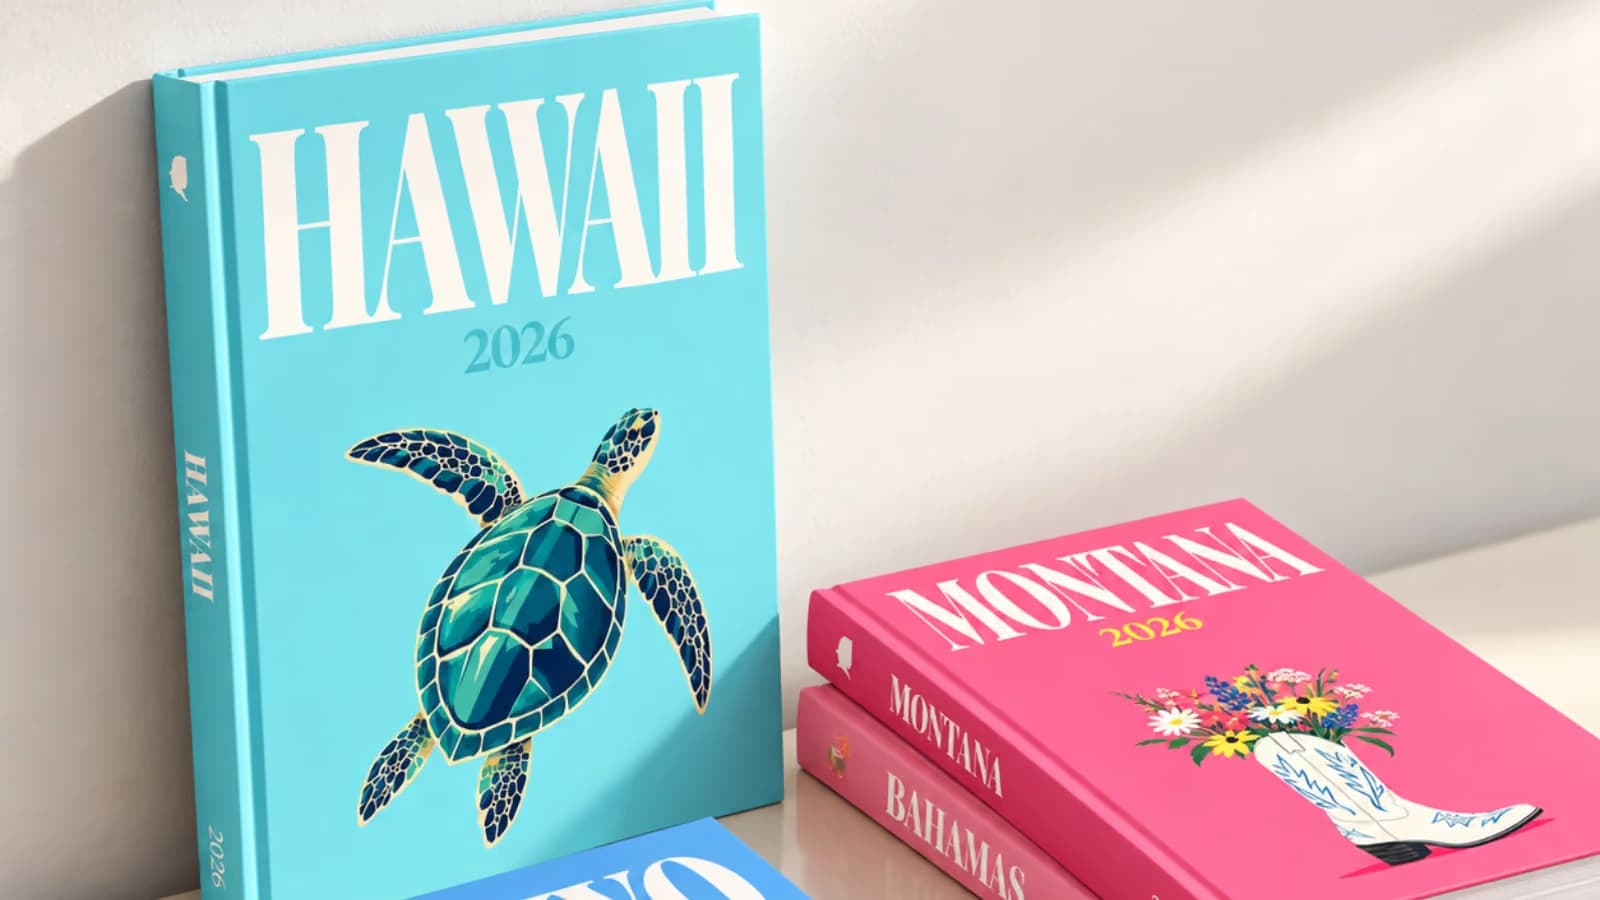
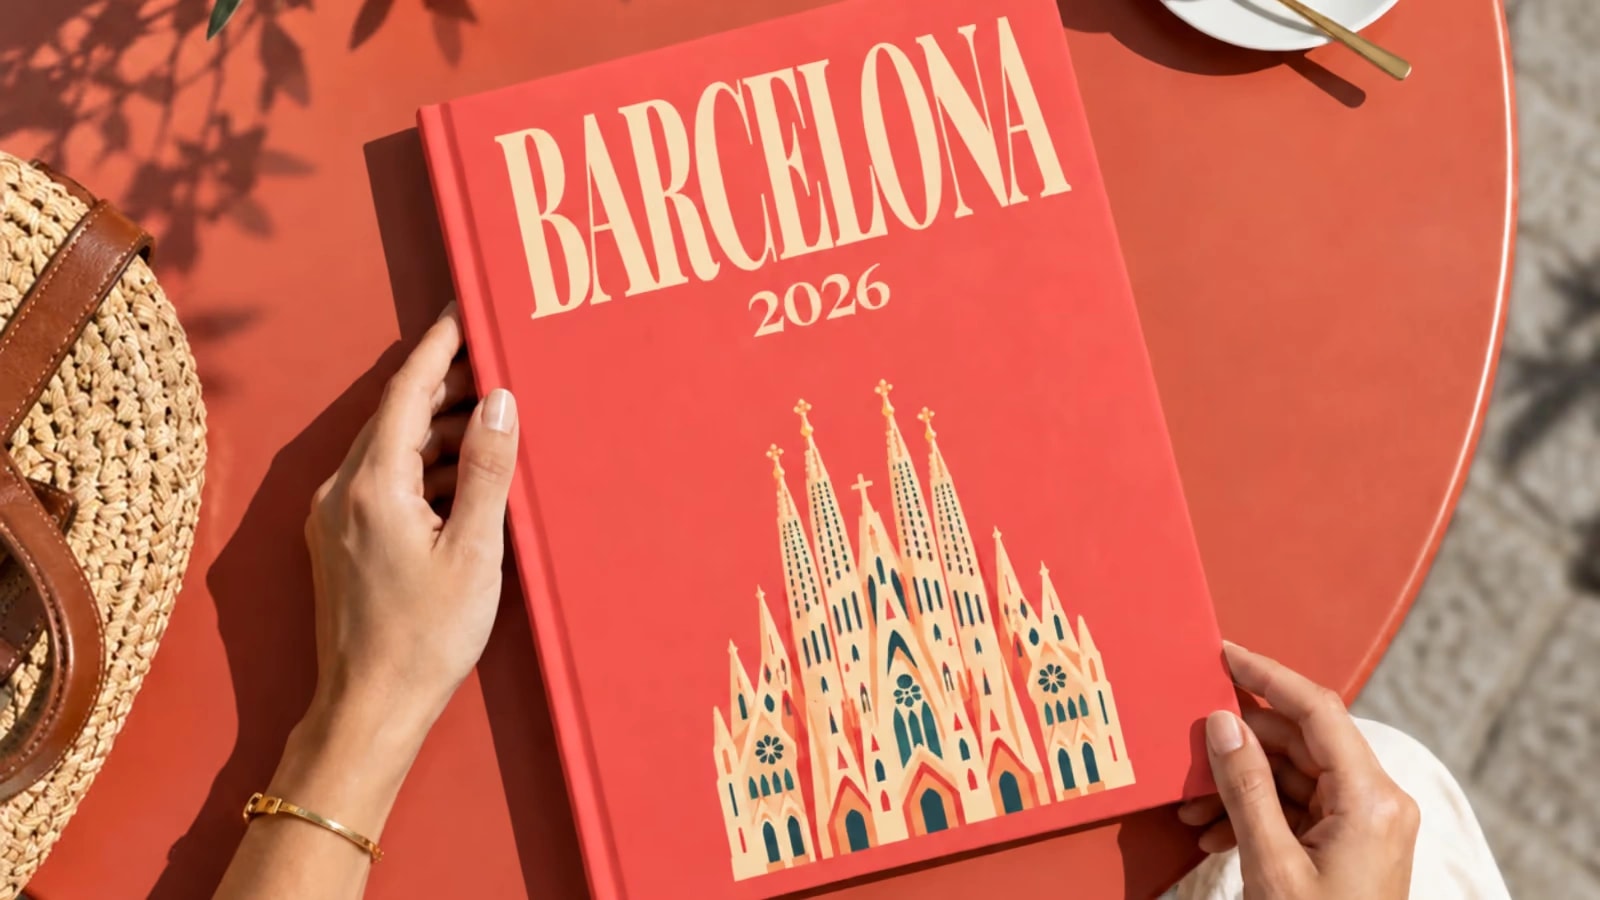
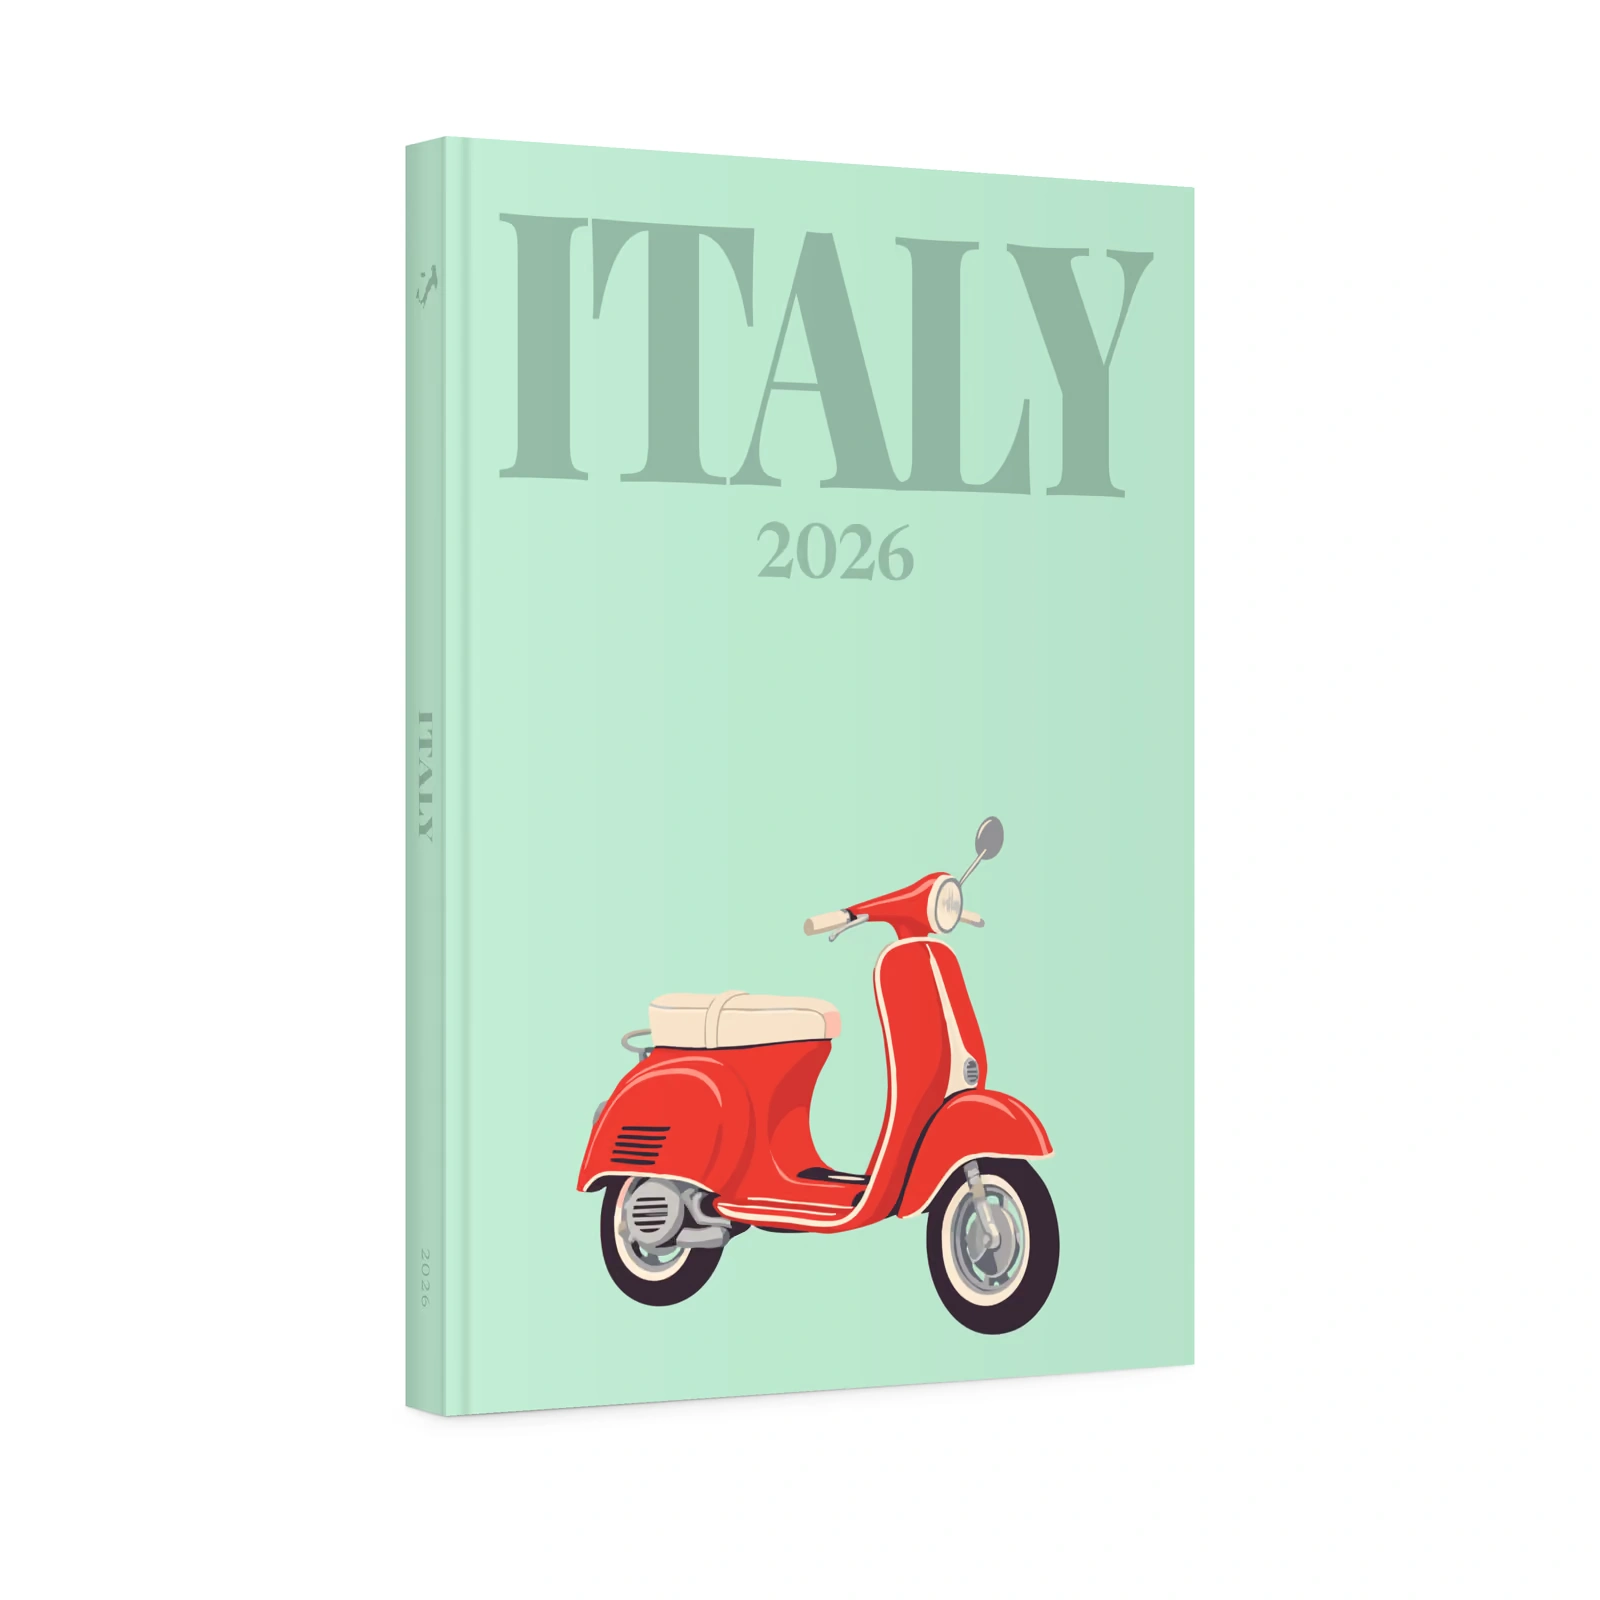
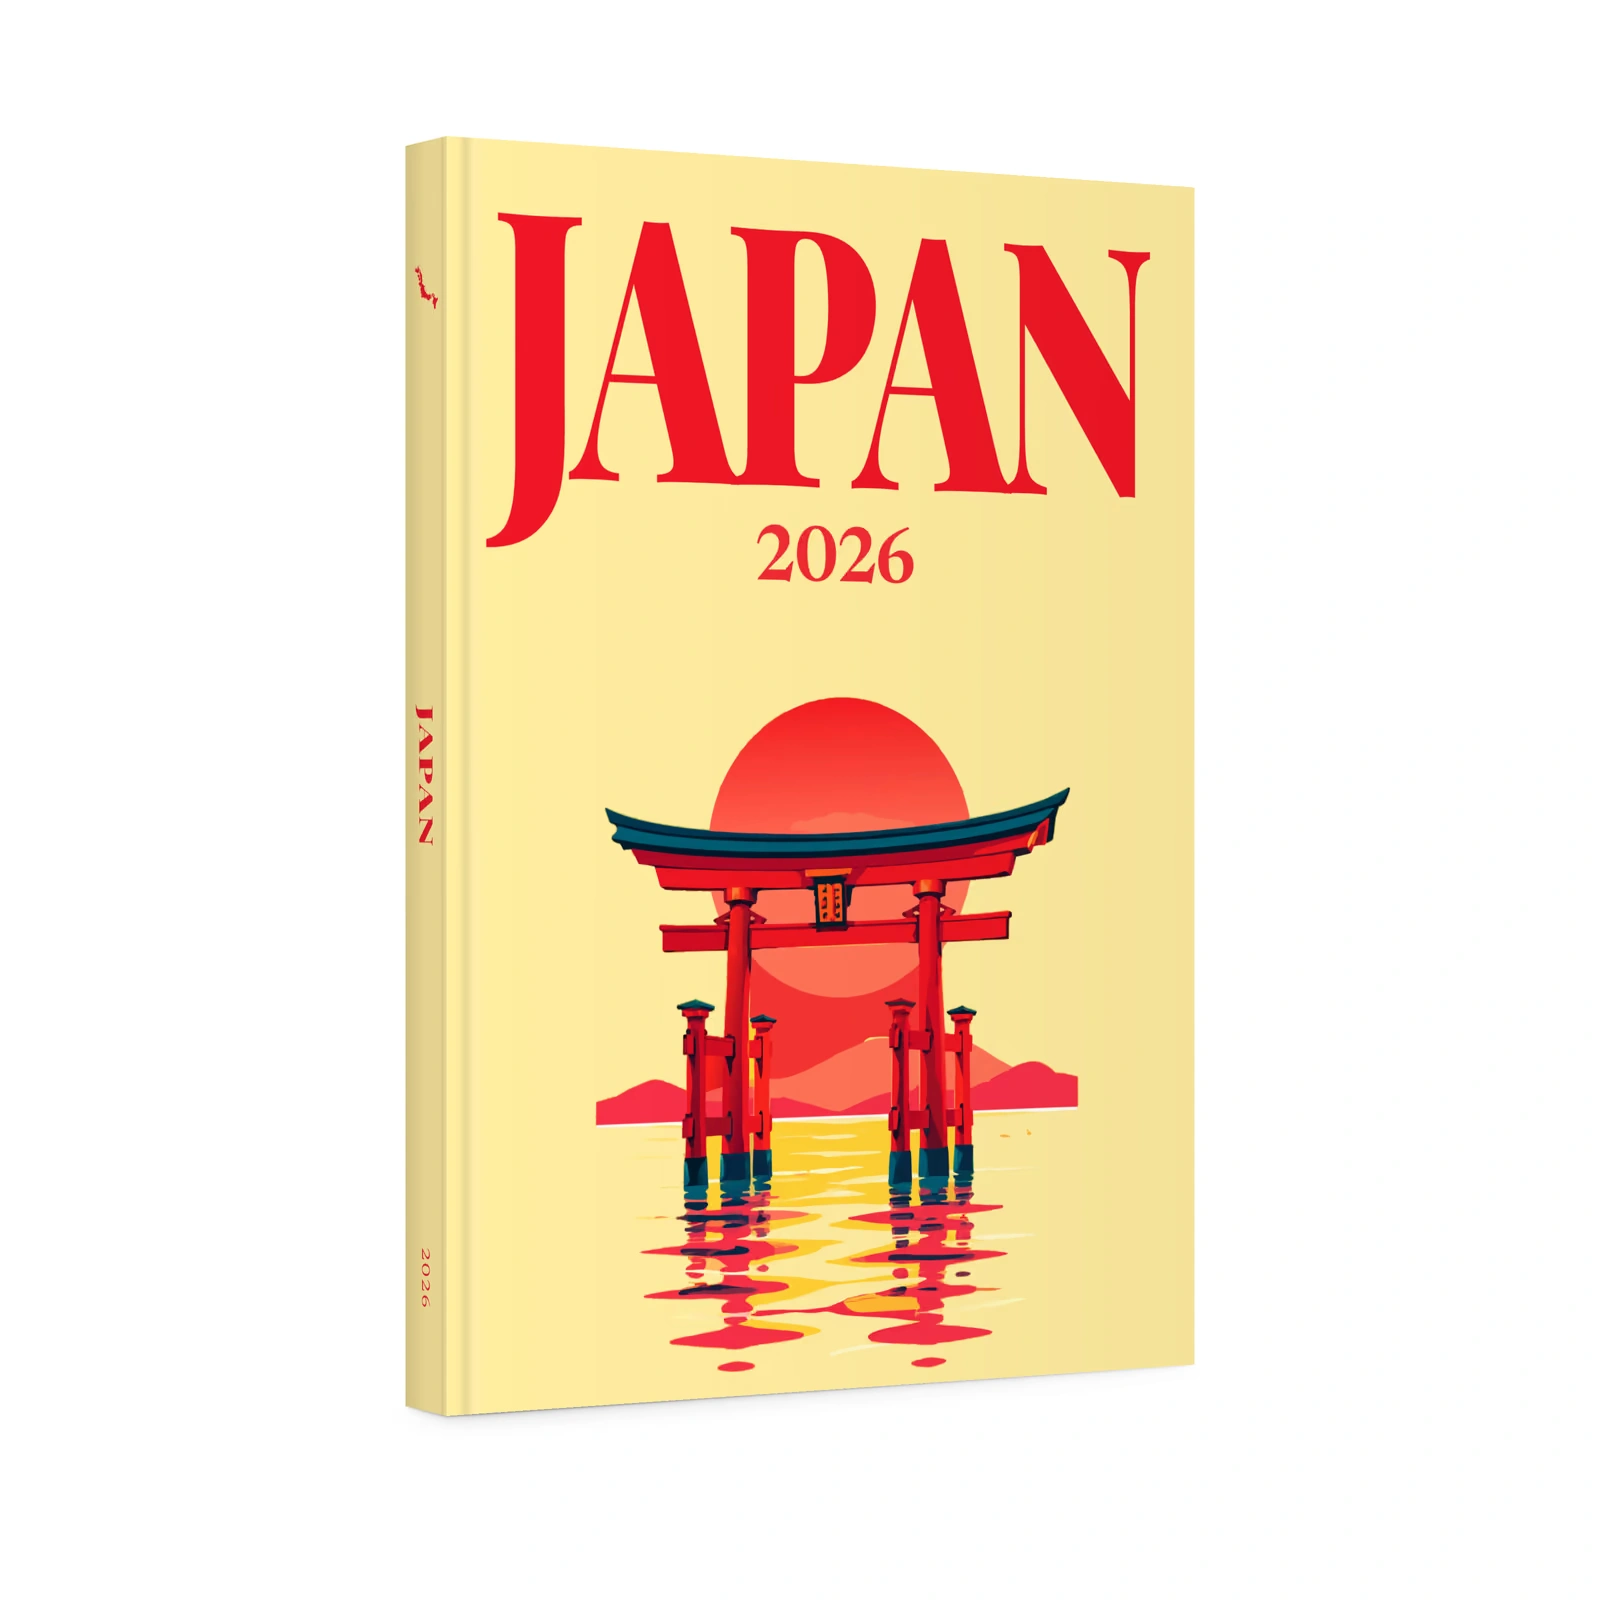
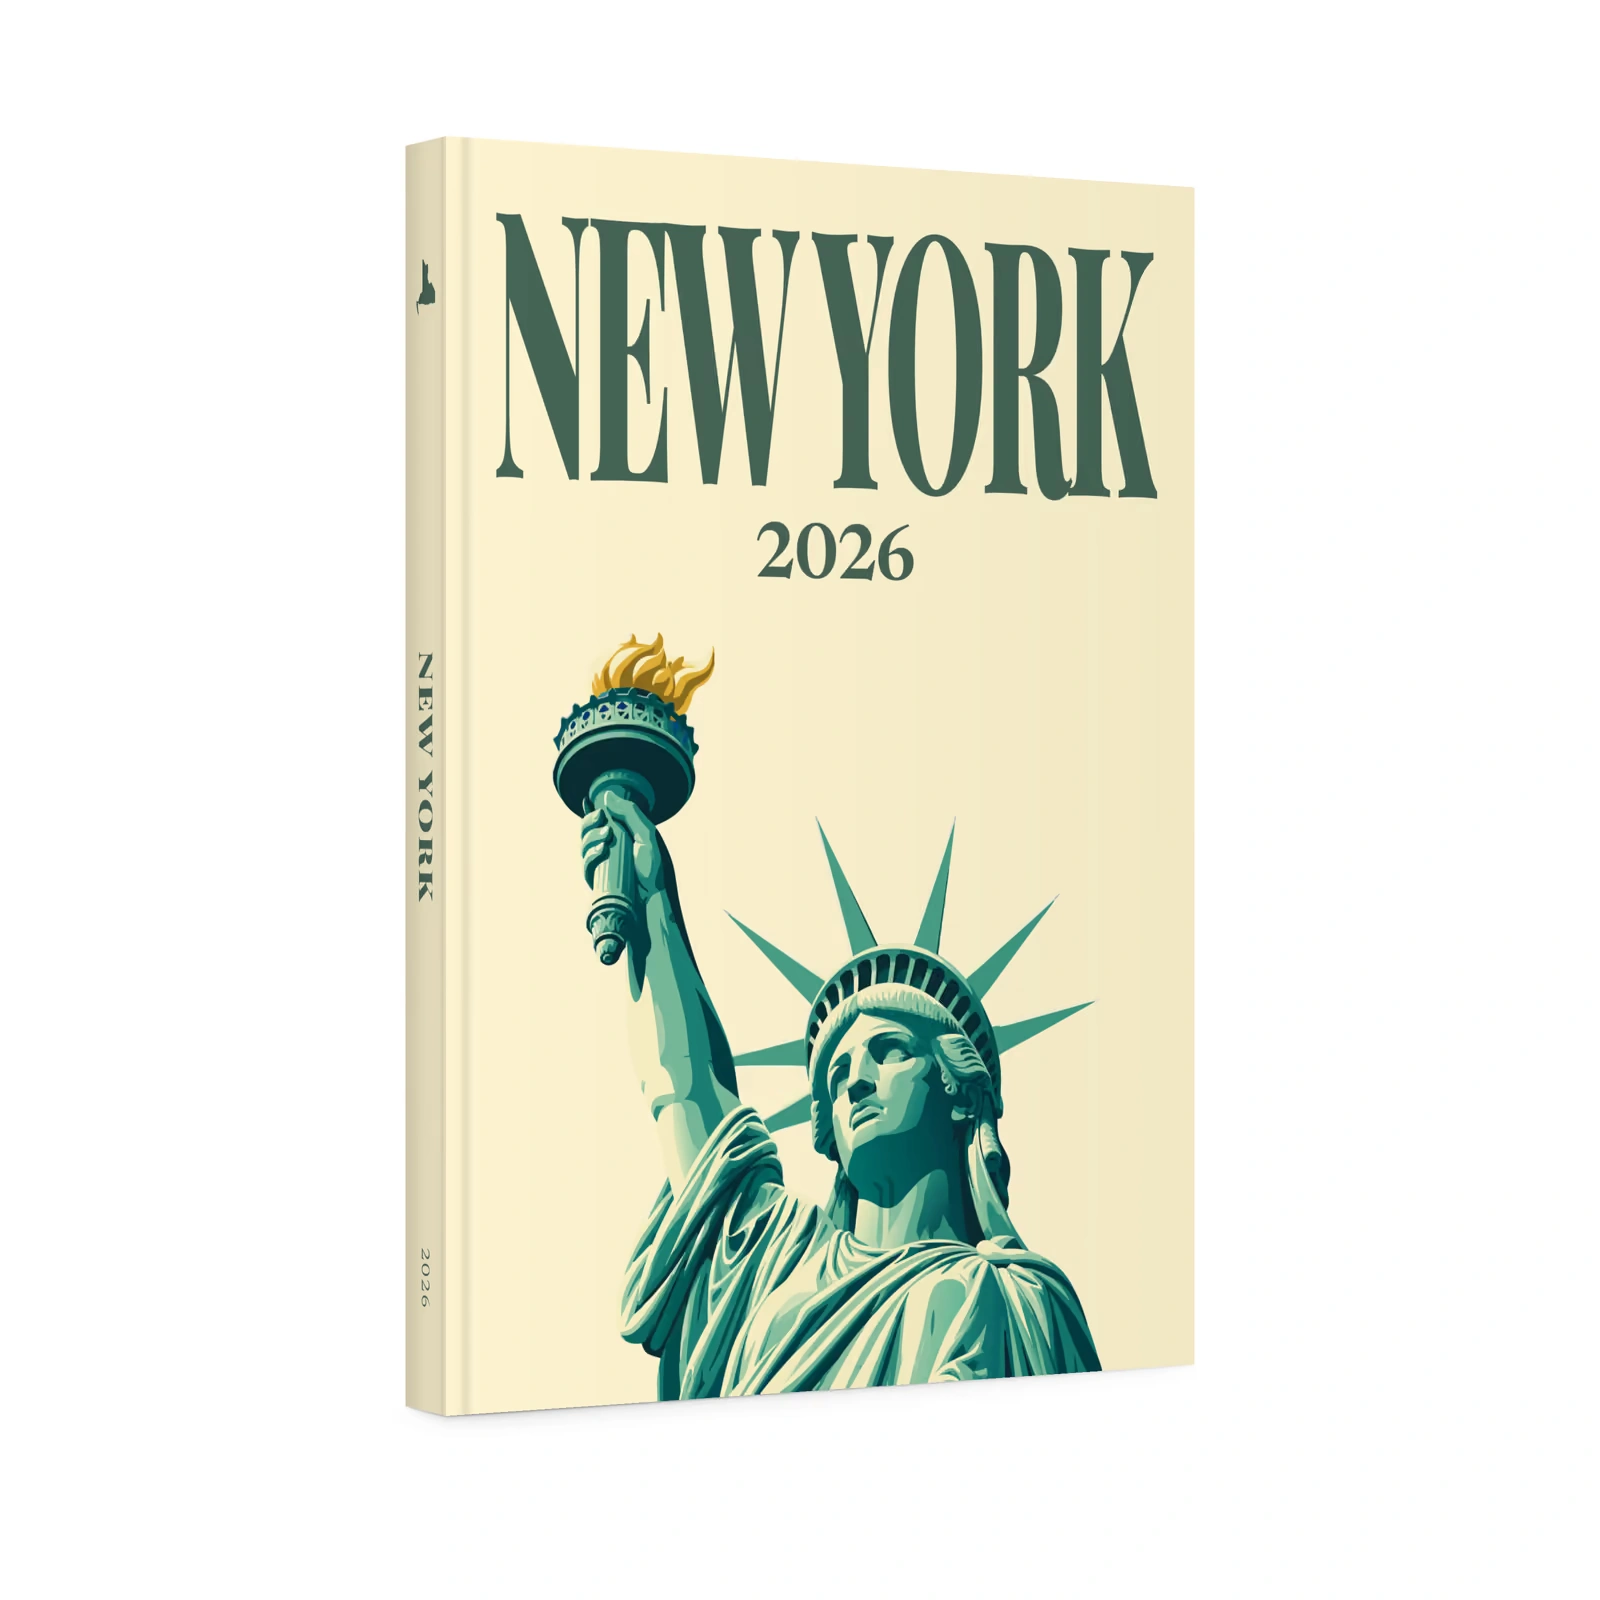
The cover is the first thing anyone sees and the only part visible on a shelf. In the TripMemo studio you can choose an illustrated cover drawn for your destination, from more than 500 designs, or use one of your own photos on the front.
Then write the words:
- Title: the place and year is a classic ("Amalfi 2026"), or something only you would say ("The Road to Big Sur").
- Subtitle: a date or the route ("June 2026", "Tokyo, Kyoto and Osaka").
- Spine: short enough to read on a shelf, usually the title and year.
- Back cover: a closing line, such as "Until next time."

Need ideas? See our list of travel photo book title ideas, organised by trip type and destination. You can browse every illustrated cover design or start from a destination:







Your trip, printed.Start it in the TripMemo app.

9. Proof and Order
Before you order, read the whole book at least once from start to finish, ideally a day after you finish it. Check:
- Spelling of names and places, on the cover and spine as well as inside.
- Photos close to the edge of the page, where trimming can cut faces or text.
- Order: no day or place out of sequence, no duplicate photos.
- Resolution warnings: fix any photo the studio says is too small.
The TripMemo studio shows every page as it will print and lets you download a design proof before you pay. Books are printed to order and sent tracked; UK hardcover orders usually arrive in 5 to 8 working days, and we ship worldwide.
Travel Photo Book Ideas to Make Yours Stand Out
- Add the route map near the start, so the rest of the book has a geography.
- Give each day a one-line headline on its opening page.
- Include the small things: tickets, menus, receipts and signs are worth a photo.
- Use a then-and-now pair if you returned somewhere you have been before.
- Leave a page for the people you travelled with, or a group photo on the last spread.
- End with what comes next: a list of places you want to go back to.
If you are making a book as a present, our guide to Christmas photo book delivery dates and gift ideas has the last order dates for every country we deliver to.
Frequently Asked Questions
How long does it take to make a travel photo book?
Most trips take one or two evenings: an hour or two to shortlist the photos, then an evening to lay out the pages, write captions and check the proof.
How many pages should a travel photo book be?
Plan about one page for every two or three photos. A weekend fits 24 to 40 pages, a one or two week holiday 40 to 80, and a long trip 100 or more.
What size is best for a travel photo book?
A5 portrait is easy to give, A4 portrait shows landscapes larger, and a 21 cm square book suits a mix of portrait and landscape photos. Layflat opens completely flat for panoramas.
Should a travel photo book be in date order?
Date order is the easiest to follow. For a trip with a few long stays, grouping the pages by place works just as well.
Can I make a travel photo book on my phone?
Yes. TripMemo's photo book studio works in a phone browser and in the TripMemo iPhone app, which also sorts a trip's photos by day and place.
Should I make one book per trip or one per year?
One book per trip when a trip has enough photos for 24 pages or more; a year in review book when you took several shorter trips.
Is a layflat or hardcover book better for travel photos?
Hardcover is the classic coffee-table travel photo book. Choose layflat when you want panoramas to run across both pages without a fold.