




TripMemo Product Team
Product & releases
11 min read•Published
Summary
To make a photo book, decide what the book is about, choose two or three photos for every page you want, and pick a photo book maker. Then choose the binding, size and paper, lay the photos out one to four to a page, add a few words, design the cover and spine, check every page and order. Most books take an evening or two to make and about a week to arrive.
To make a photo book, decide what the book is about, choose two or three photos for every page you want, and pick a photo book maker. Then choose the binding, size and paper, lay the photos out one to four to a page, add a few words, design the cover and spine, check every page and order. Most books take an evening or two to make and about a week to arrive.
This guide covers each step for any kind of photo book: a holiday, a wedding, a baby's first year, a family year or a birthday. We make travel photo books, so the examples use our studio, but every step works with whichever maker you choose. If your book is of one trip, our guide to making a travel photo book goes deeper on maps, captions and day by day layouts.
The Steps at a Glance
| Step | What you do | Time |
|---|---|---|
| 1. Choose the story | One trip, event, year or person | 5 minutes |
| 2. Choose the photos | Two or three for every page | 1 to 2 hours |
| 3. Choose a maker | Website, app or a DIY album | 10 minutes |
| 4. Choose binding, size and paper | Hardcover, softcover or layflat | 5 minutes |
| 5. Lay out the pages | One to four photos a page | 1 hour |
| 6. Add words | Names, dates and a line or two | 30 minutes |
| 7. Design the cover | Cover, title and spine | 15 minutes |
| 8. Check the proof | Every page, the spelling, the edges | 20 minutes |
| 9. Order | Price, delivery and how long it takes | 5 minutes |
1. Decide What the Book Is About
A photo book is easiest to make and best to look through when it has one clear subject. Before you open your photos, pick one:
- One event: a wedding, a birthday party, a graduation, a holiday.
- One stretch of time: a baby's first year, a family's year, a year of travel.
- One person or place: a gift for a grandparent, every summer at the same beach.
The subject decides which photos go in, so a clear one makes the next step much quicker. If you cannot choose between two, make two books. Need a starting point? Our photo book ideas list themes for every occasion.
2. Choose Your Photos
Choosing the photos is the step that takes longest and makes the biggest difference. Aim for two or three photos for every page you want:
| Pages | Photos to choose |
|---|---|
| 20 | 40 to 60 |
| 40 | 80 to 120 |
| 80 | 160 to 240 |
Work in passes. First remove duplicates, screenshots and blurred shots. Then, for each day or part of the story, star the photos you would show someone first. Finally, check that people appear as well as places and keep a few small details (a menu, a ticket, a sign) that bring the day back. Our guide to how many photos go in a photo book has a calculator that works it out for any page count.
Use the originals. A screenshot or a photo saved from a group chat is much smaller than the photo itself and can print soft. If your photos are on an iPhone, our guide to making a photo book from iPhone photos shows how to gather the full-size originals in one album first.
3. Choose Where to Make Your Photo Book
There are three ways to make one:
- A photo book maker's website. You upload photos in a browser, the maker lays them out, and it prints and posts the book. This works on a computer or a phone.
- A photo book app. The same thing on your phone, using your photo library directly. Some apps keep the trip or event for you as you go.
- A DIY photo album. You print the photos and put them into an album by hand. See how to make a photo album by hand below.
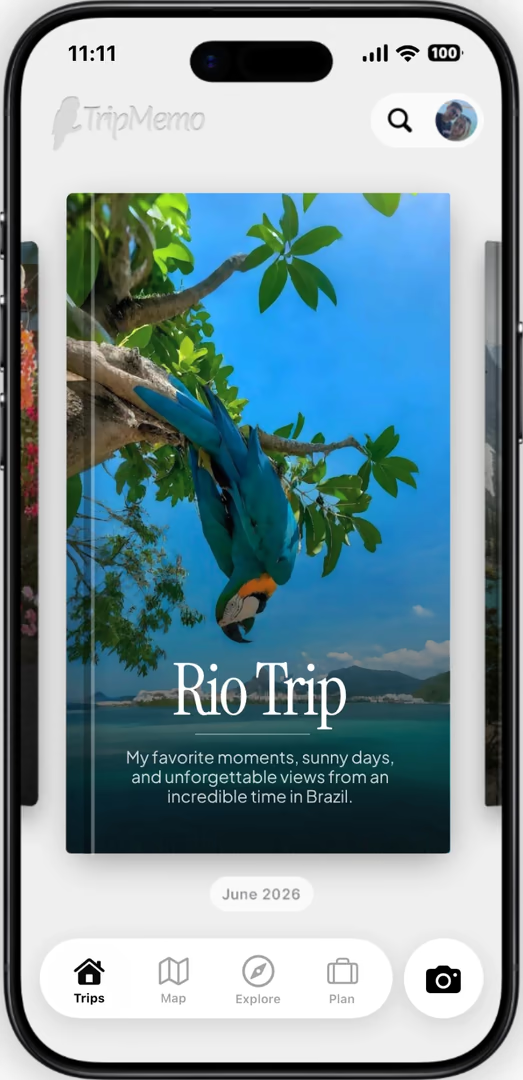
When you compare makers, check four things: that it lays out the pages for you, that it shows every page before you pay, that it delivers to your country, and that it has a cover you like. TripMemo's studio works in any browser on a phone or computer, and in the TripMemo iPhone app. It lays out every page in the order the photos were taken and ships worldwide.
4. Choose the Binding, Size and Paper
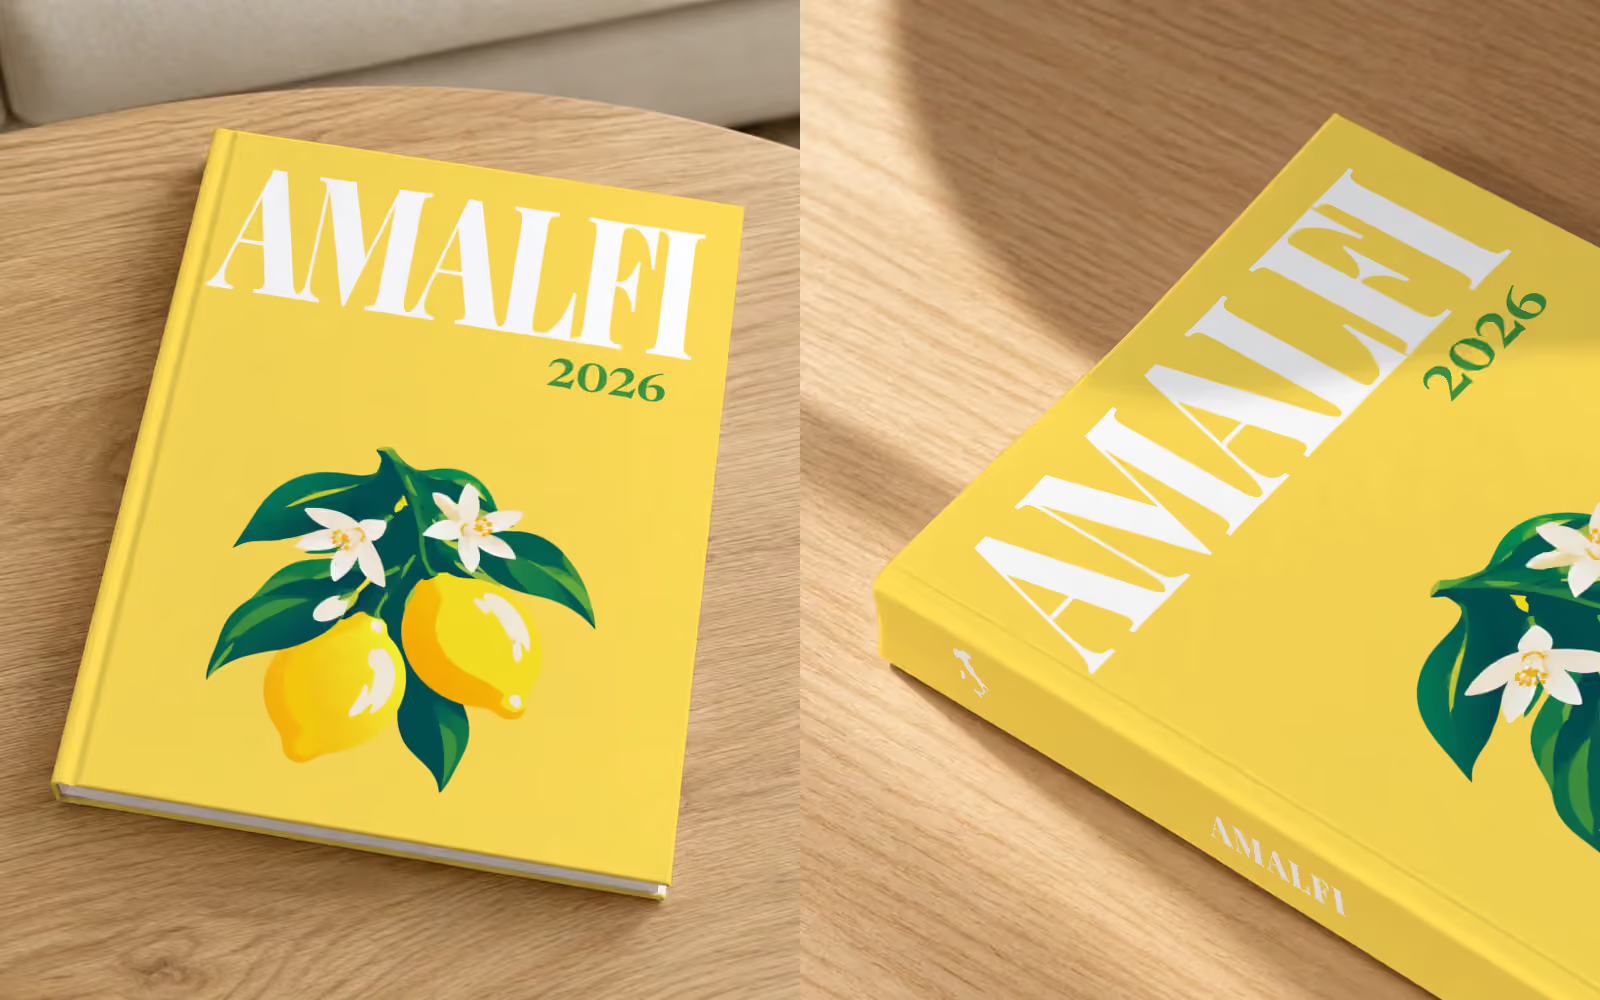
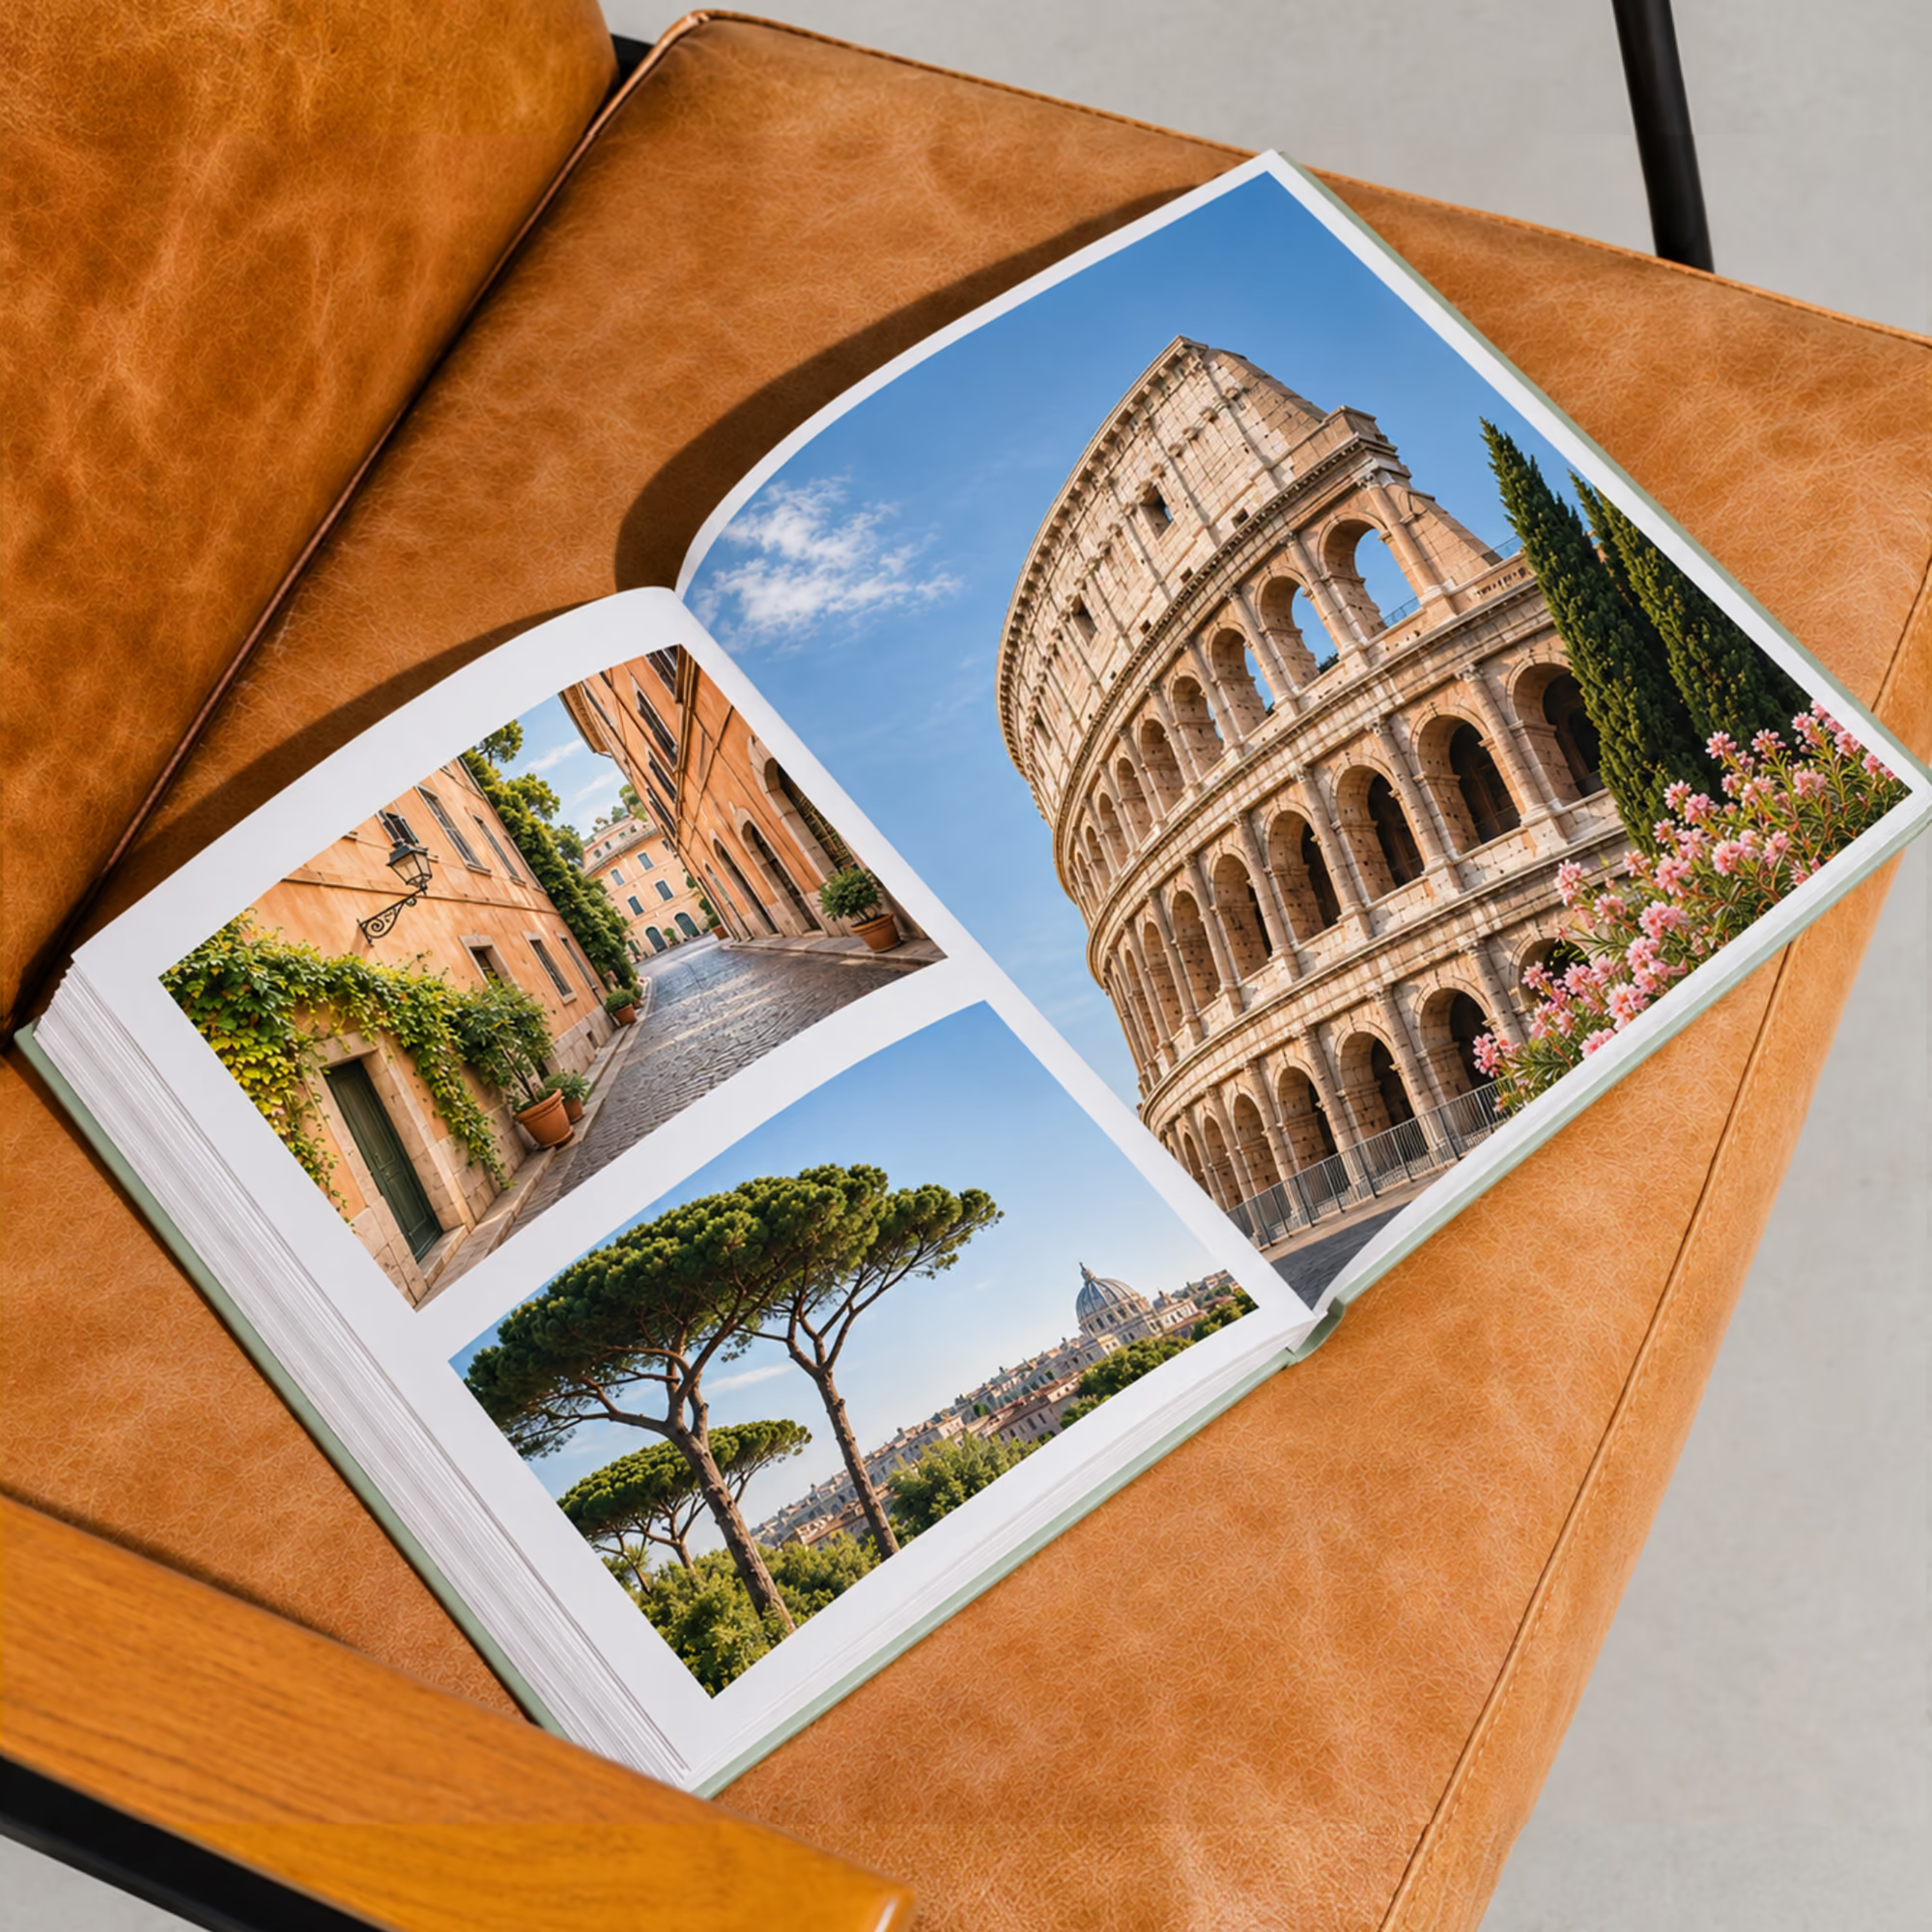
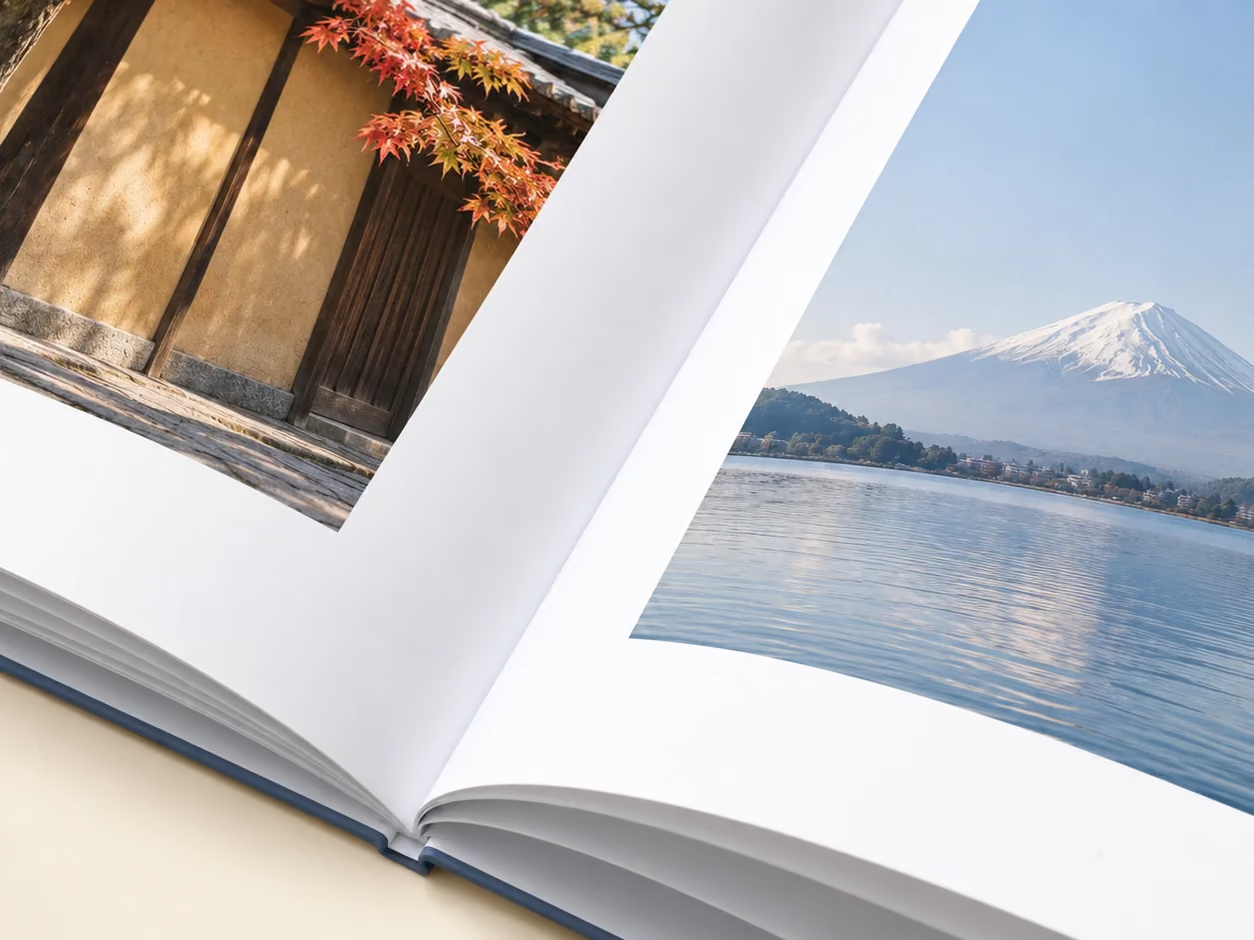
Binding. A hardcover is the classic photo book, sturdy enough for the coffee table, with the title on the spine. A softcover is lighter and costs less. A layflat book opens completely flat, so a photo can run across both pages without a fold. These are the three in the TripMemo studio:
Size. A5 portrait (14.8 × 21 cm) is easy to give and to keep on a shelf. A4 portrait (21 × 29.7 cm) shows landscapes and group photos larger. A 21 cm square book is the easiest to lay out when your photos are a mix of portrait and landscape. Our guide to photo book sizes compares them in centimetres and inches.
Paper. Gloss makes colours bright and sharp. Lustre has a softer satin sheen, with fewer reflections when the book lies open.
Still deciding? See hardcover vs softcover and layflat vs hardcover.
Join the TripMemo
Newsletter
Unsubscribe anytime. Read our privacy policy.
5. Lay Out the Pages
A good layout changes pace. If every page holds four photos the book feels crowded; if every page holds one, it feels thin.
- One photo on a page for the best shots: the view, the portrait, the moment everyone remembers.
- Two or three photos on a page for most of the book. Pair a wide shot with a close-up.
- Four photos on a page for busy moments, food and small details.
- Keep things in order. Date order is easiest to follow. For a family year, a month at a time works well.
In the TripMemo studio the pages are laid out for you in the order your photos were taken. You choose one to four photos per page, and you can move, swap, zoom and crop any photo. The studio checks every photo's resolution at the size it will print and warns you if one is too small.
6. Add Words
You do not need to write much. A few words on the right pages are what make a photo book better than a folder of photos:
- Names and places: who is in the photo, where it was taken.
- Dates: a date on the page that opens each day, month or chapter.
- A line about the moment: the joke, the weather, what happened next.
In the TripMemo studio each page can hold its own words, up to 180 characters, printed with that page's photos. For prompts, see our guide to captioning travel photos.
7. Design the Cover, Title and Spine
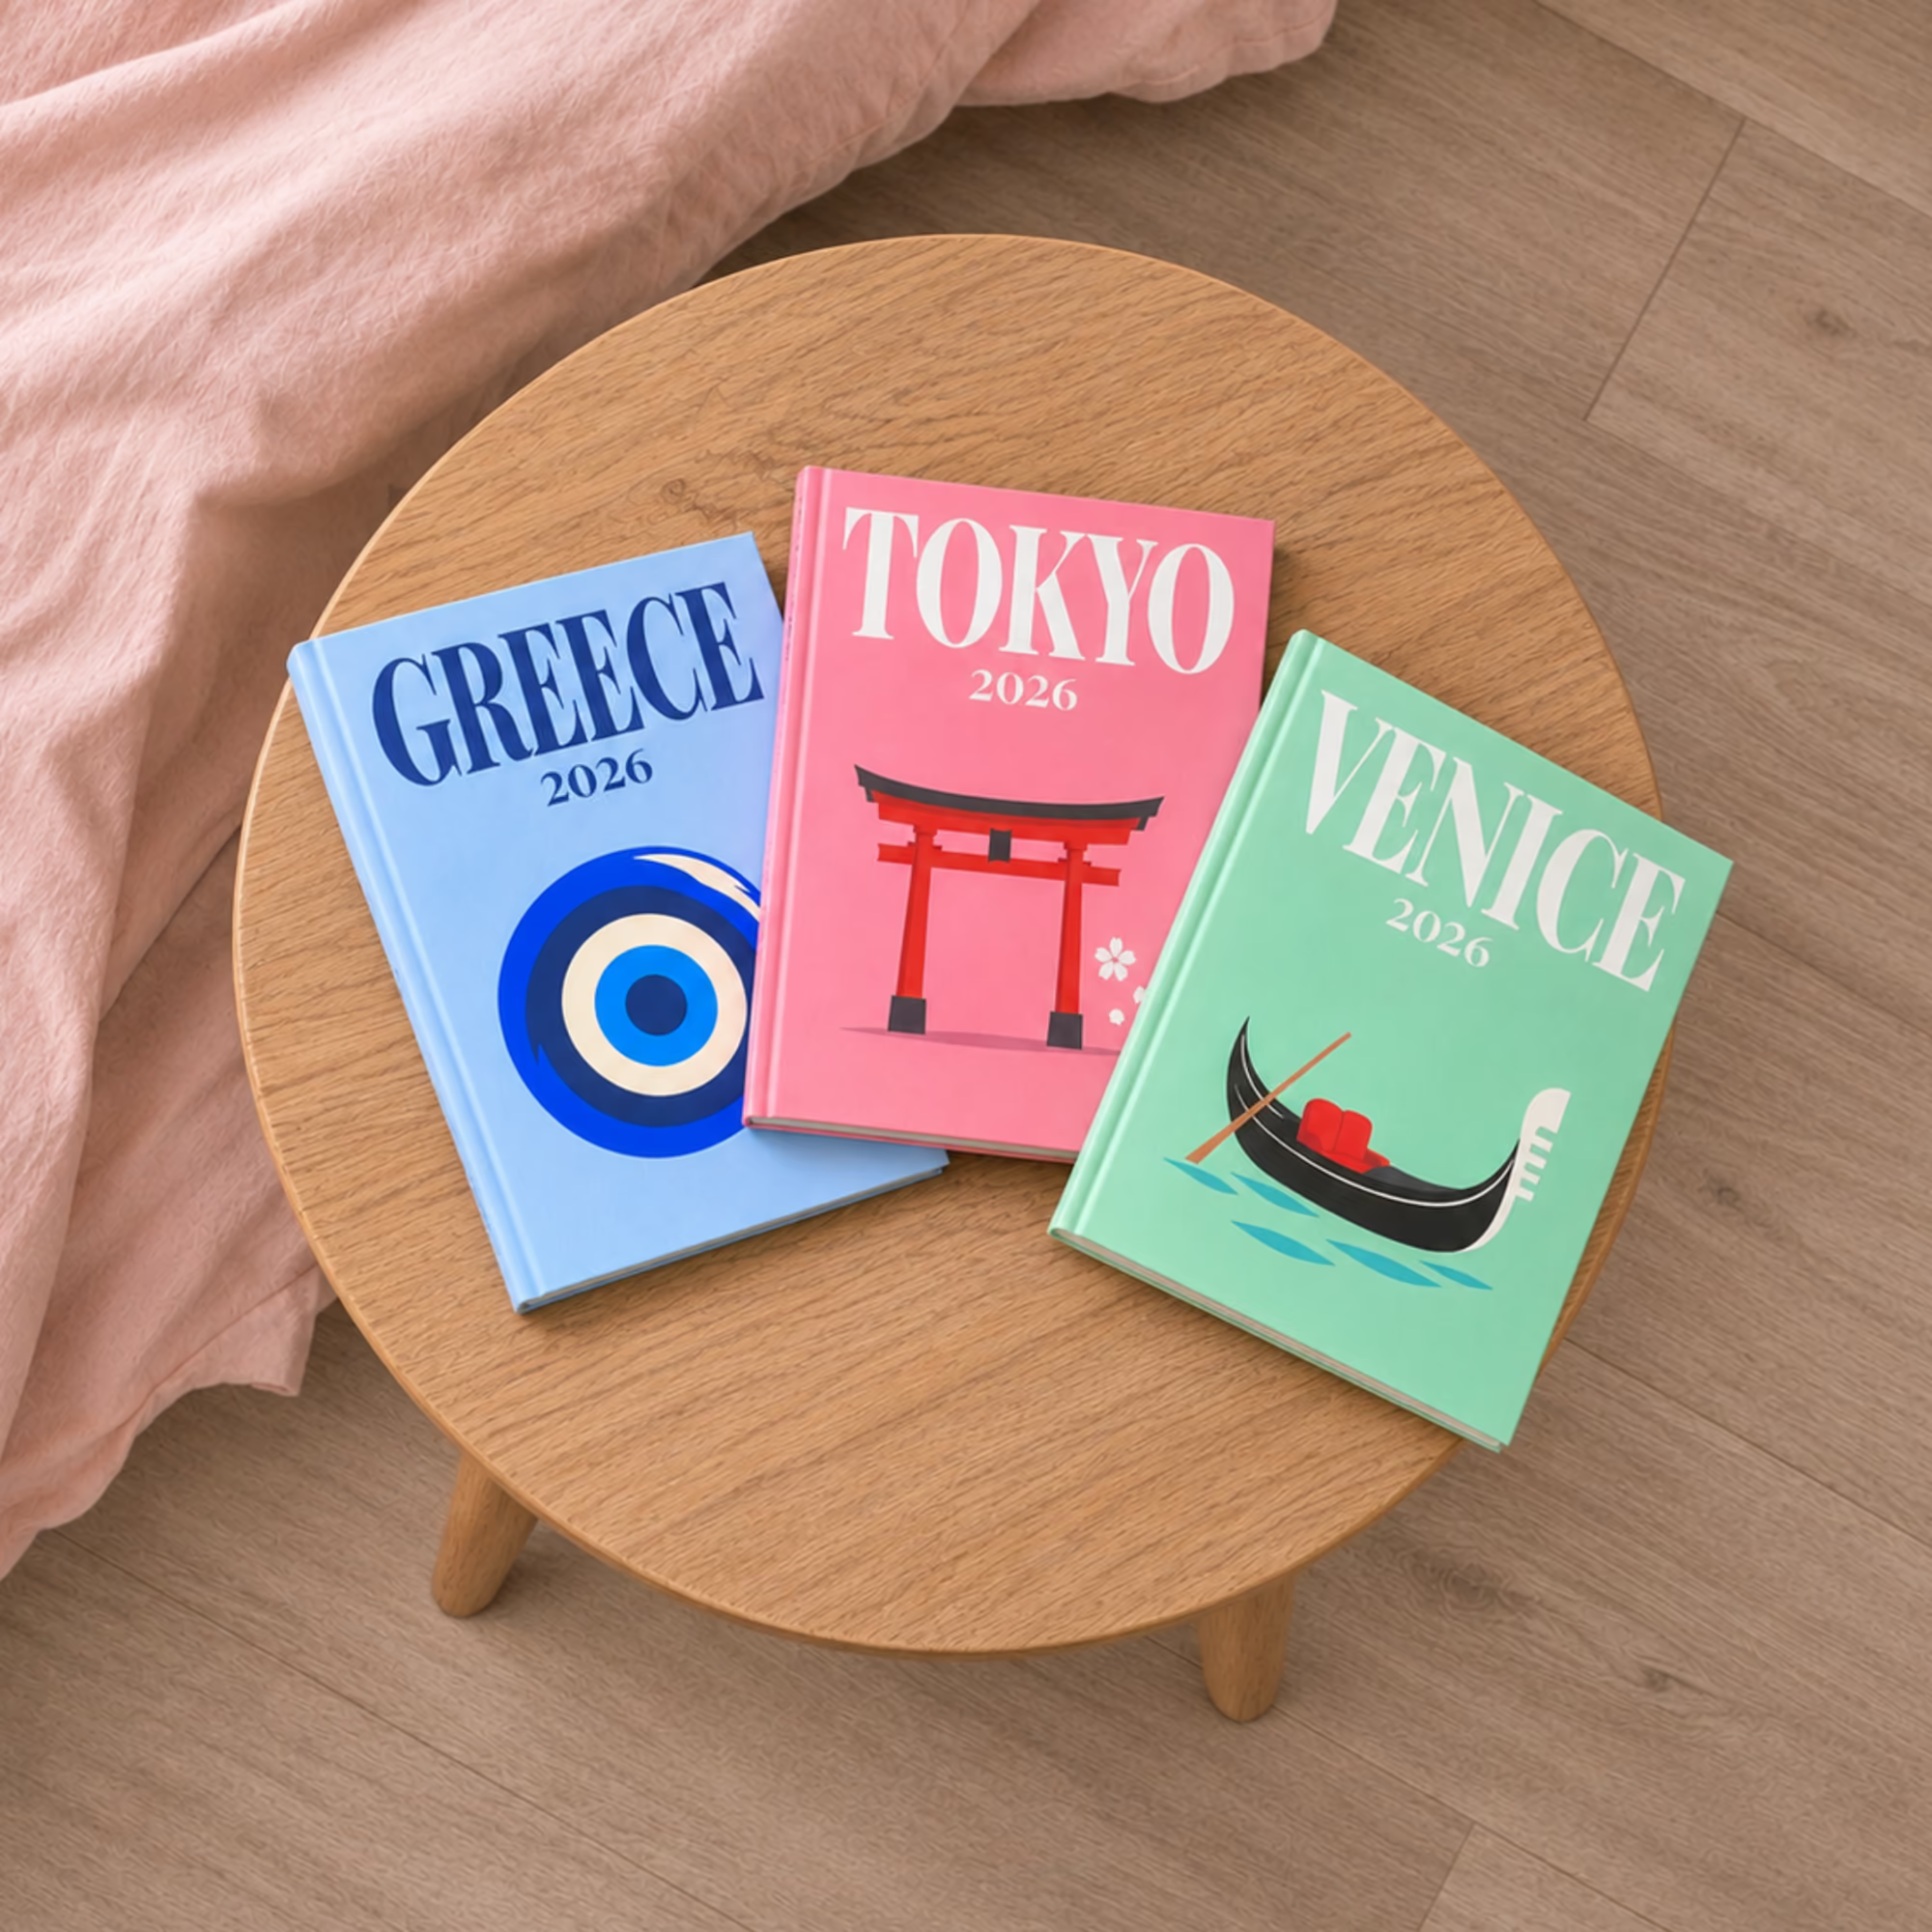
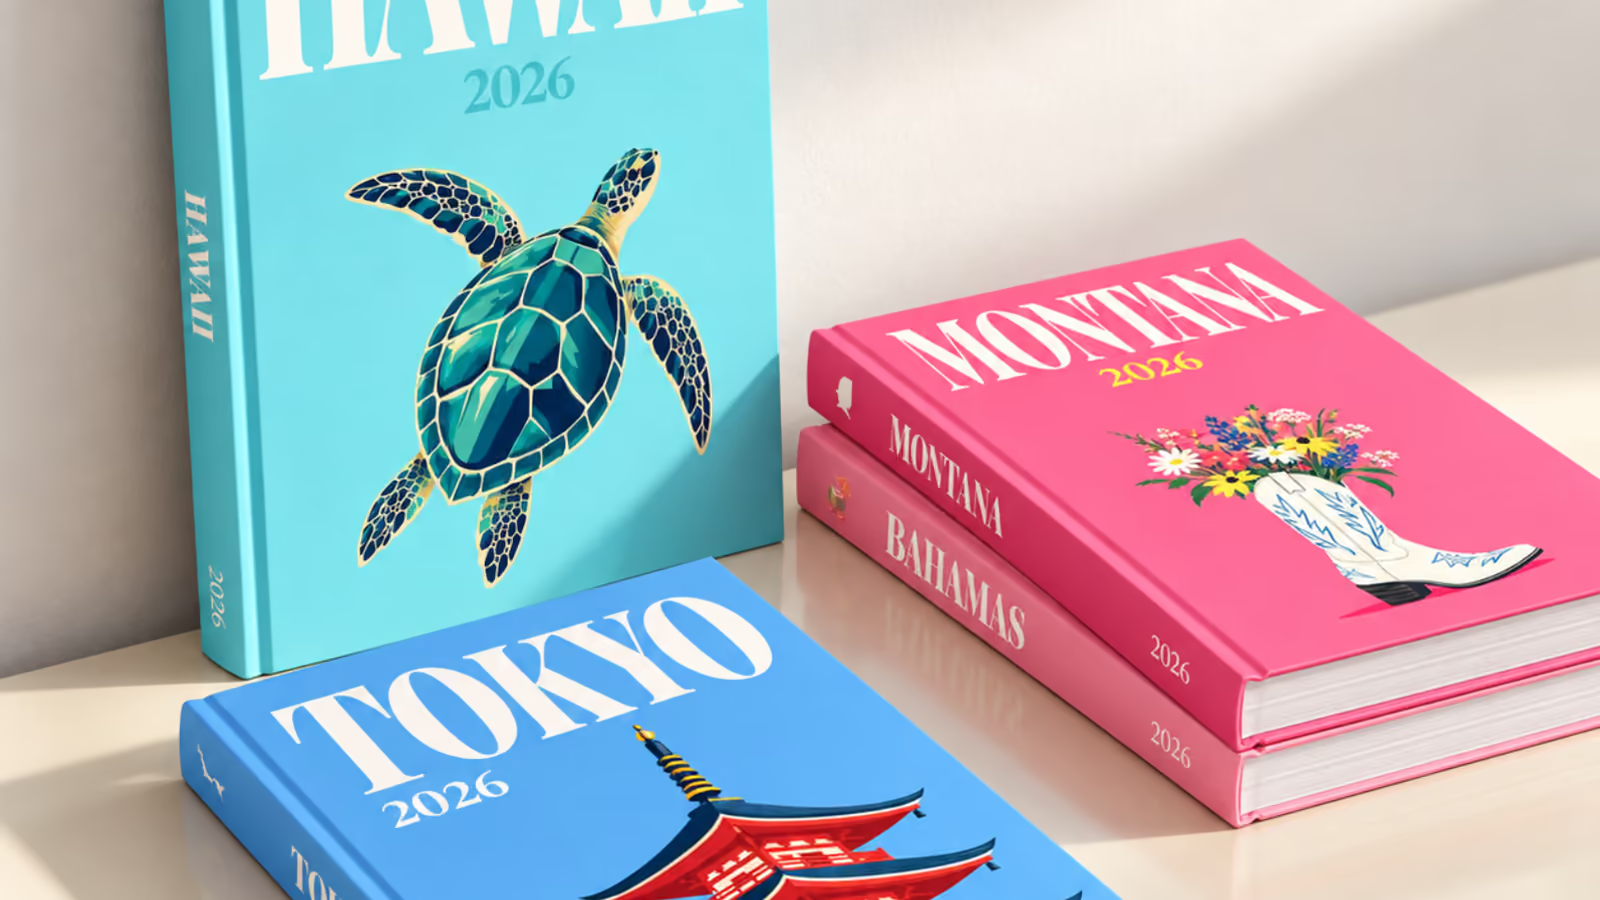
The cover is the first thing anyone sees, and the spine is the only part you see on a shelf. You can use your best photo on the front, or an illustrated cover. TripMemo has 986 illustrated covers of countries, cities and US states, from Japan to New York, if your book is of a place.
Then the title. A name and year works for any book ("Lisbon 2026", "Ava's First Year"), and the spine can carry the same words. Our travel photo book title ideas and cover ideas have more.

Your trip, printed.Start it in the TripMemo app.

8. Check the Proof
Read the whole book once from start to finish before you order, ideally a day after you finish it. Check:
- Spelling of names and places, on the cover and spine as well as inside.
- Faces close to the edge of a page, where trimming can cut them.
- Duplicates and anything out of order.
- Low-resolution warnings on any photo.
The TripMemo studio shows every page as it will print and lets you download a design proof before you pay.
9. Order: Cost and Delivery Time
The price depends on the binding, size and number of pages. A TripMemo softcover starts at £26.49, a hardcover at £28.49 and a layflat at £41.99, before delivery. Those are the smallest size of each with the fewest pages; larger sizes and extra pages cost more, and the studio shows the price as you choose.
Every book is printed to order and sent tracked. A UK hardcover usually arrives in 5 to 8 working days, and we ship worldwide, with delivery priced for your address at checkout. If the book is a present, check the Christmas photo book delivery dates first.
How to Make a Photo Album by Hand
If you would rather fill an album yourself, here is the quickest way to make a photo album with prints:
- Choose an album: one with clear sleeves is quickest; self-adhesive or plain pages let you mix sizes and add notes.
- Print the photos at one size, such as 6 × 4 inches, so they line up in the sleeves.
- Sort the prints into order on a table before anything goes in.
- Fill the album, with a short label beside the photos that need one.
- Leave a gap every few pages for tickets, postcards and notes.
The difference from a photo book is that an album holds separate prints, while a photo book has the photos printed on its pages. Our comparison of a photo book vs a photo album covers cost and how long each lasts.
Frequently Asked Questions
How do I make a photo book?
Decide what the book is about, choose two or three photos for every page, and pick a photo book maker. Choose the binding, size and paper, lay out the pages, add a few words, design the cover, then check every page and order.
Where can I make a photo book?
Online, in a photo book maker's website or app. TripMemo works in any phone or computer browser and in the TripMemo iPhone app, and ships worldwide.
How many photos do I need for a photo book?
Two or three photos for every page: about 40 to 60 for 20 pages, 80 to 120 for 40 pages and 160 to 240 for 80 pages.
How much does it cost to make a photo book?
A TripMemo softcover starts at £26.49, a hardcover at £28.49 and a layflat at £41.99, before delivery. Larger sizes and extra pages cost more, and you see the full price before you pay.
How long does it take to make a photo book?
An evening or two to choose the photos and lay out the pages, then printing and delivery. A UK hardcover usually arrives in 5 to 8 working days.
Can I make a photo book on my phone?
Yes. TripMemo's studio works in the browser on iPhone and Android, and in the TripMemo iPhone app, with photos straight from your phone's library.
How do you make a photo album by hand?
Print the photos at one size, sort them into order, then slide or stick them into an album with a short label beside each. Leave a gap every few pages for tickets and notes.