




TripMemo Product Team
Product & releases
10 min read•Published
Summary
To make a travel journal, choose paper, an app or both, then pick a notebook (an A5 or pocket notebook with thick, acid-free paper) or make one by folding and stitching a few sheets into a card cover. Pack a small kit of pens, a glue stick, washi tape and an envelope for tickets. Set up a title page, a trip details page and a map before you leave, give each day the same simple page structure, and write for ten minutes each evening. After the trip, you can print the journal and photos as a book.
To make a travel journal, choose paper, an app or both, then pick a notebook or make your own by folding and stitching a few sheets into a card cover. Pack a small kit of pens, a glue stick, washi tape and an envelope for tickets. Before you leave, set up a title page, a trip details page and a map. On the trip, give each day the same simple page structure and write for about ten minutes each evening. When you are home, you can print the journal and your photos as a book.
This guide is about making the journal itself: the materials, the first pages and the layout of each day. If you have not decided yet whether to journal at all, start with our guide to starting a travel journal, and for what to write on each page, see what to write in a travel journal.
How to Make a Travel Journal in 7 Steps
| Step | What you do | When |
|---|---|---|
| 1. Choose paper, digital or both | Decide how you will keep it | Before the trip |
| 2. Choose or make the notebook | Size, paper and binding | Before the trip |
| 3. Pack a small kit | Pens, glue, tape, an envelope | Before the trip |
| 4. Set up the first pages | Title, trip details, a map | Before the trip |
| 5. Plan a page structure for each day | The same few sections every day | Before the trip |
| 6. Keep it going on the trip | Ten minutes each evening | During the trip |
| 7. Finish it and print it | A closing page, then a book | After the trip |
1. Choose Paper, Digital or Both
- A paper journal is best if you enjoy writing by hand, sticking in tickets and drawing. It takes the most time each day.
- A digital journal on your phone is quickest. Photos, notes and places stay together, and it is easy to keep up on a busy trip.
- Both works well for most people: quick notes and photos on the phone during the day, and a paper page or a printed book at the end.
Pick the one you will actually keep up. A journal with a short entry for every day is worth more than a beautiful one that stops on day three.
2. Choose or Make the Notebook
Size. A5 (about 15 × 21 cm, or 6 × 8 inches) has room for a ticket and a few lines on one page and still fits in a day bag. A pocket notebook (about 9 × 14 cm) is easier to carry but tight for sticking things in.
Paper. Choose thick paper if you plan to glue in tickets or use watercolour: around 120gsm or more stops pen and glue showing through. Acid-free paper keeps from yellowing. Dot grid pages help keep handwriting and lists straight without the lines showing.
Binding. A notebook that opens flat is easiest to write in on a train or café table. A traveler's notebook (a leather or card cover holding slim inserts) lets you carry one insert per trip.
How to Make a DIY Travel Journal
A homemade journal takes about twenty minutes and costs almost nothing:
- Fold five or six sheets of A4 or letter paper in half, one inside the next.
- Add a cover: fold a slightly larger sheet of card around them.
- Mark three points along the fold (the middle and about 2 cm from each end) and pierce them with a needle or awl.
- Sew through the holes with waxed thread or embroidery thread: in through the middle, out at one end, back in through the middle, out at the other end, then tie the ends inside.
- Decorate the cover with a piece of map, a stamp or a ticket from the trip.
Make two or three of these for a long trip, one for each country, and keep them in a folder.
3. Pack a Small Travel Journal Kit
Keep the kit small enough to carry every day:
- Two pens that do not smudge, a fine one for writing and a thicker one for headings.
- A glue stick and a roll of washi tape for tickets, labels and receipts.
- An envelope or zip pocket taped inside the back cover for things to stick in later.
- Optional: a pencil, a small set of watercolours, and a pocket photo printer if you want prints on the trip.
4. Set Up the First Pages Before You Leave
A few pages done at home make the journal feel started:
- Title page: the name of the trip, the dates and who is going.
- Trip details: where you are staying, flight or train times, and your packing list.
- A map: trace or print the country or route, and mark each stop as you reach it.
- A pre-trip page: what you are looking forward to and what you are nervous about. It is fun to read after.
- Page numbers and an index page, if you like finding things later.

Join the TripMemo
Newsletter
Unsubscribe anytime. Read our privacy policy.
5. Plan a Page Structure for Each Day
The easiest journals to keep give every day the same small structure, so you never face a blank page. For example:
- The heading: day number, date, place and weather.
- Three things that happened, one line each.
- One moment in more detail: a conversation, a meal, a view.
- One thing stuck in: a ticket, a label, a receipt.
- A photo, printed or noted for later.
For more ways to fill each day, our travel journal prompts have more than a hundred, and our travel journal templates give you page layouts to copy.
Travel Journal Page Ideas
Pages to add beyond the daily entries:
- A food page with the best and worst meals.
- A page of overheard lines and things people said.
- A ticket collage from the whole trip.
- A page of numbers: steps, miles, temperatures, photos taken.
- A best and worst list on the last night.
- A page for the people you met.
More ideas for a paper journal with tickets and photos are in our travel scrapbook ideas.
6. Keep It Going on the Trip
- Write at the same time each day, such as after dinner or on the train. Ten minutes is enough.
- Catch up within two days. Details fade fast; our 48-hour rule for travel journaling explains why.
- Note it on your phone when you cannot write properly, and copy it in later.
- Keep everything paper in the envelope, even if you are not sure you will use it.
How to Make a Digital Travel Journal
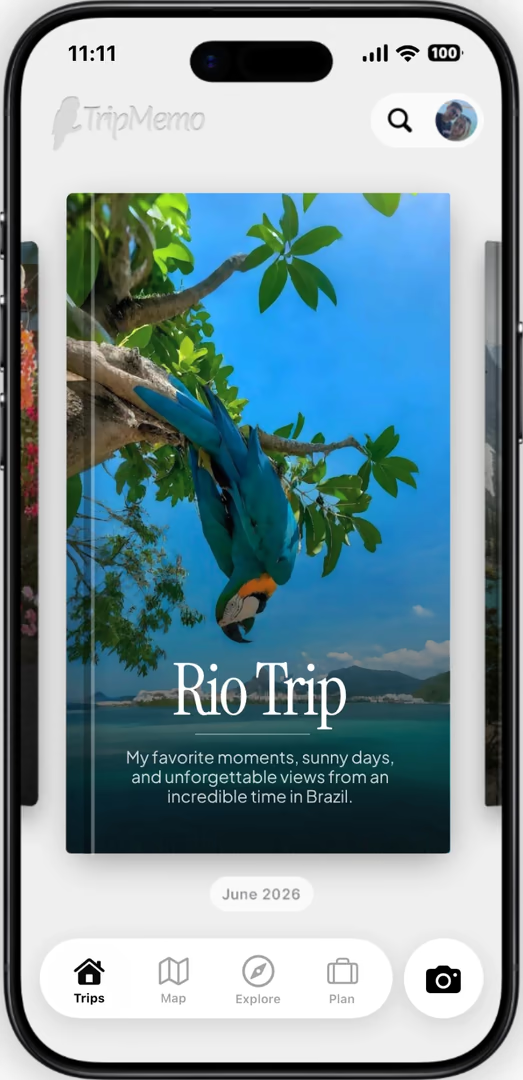
A travel journal app does the organising for you. In the TripMemo travel journal app for iPhone, each trip is a TripBook: your photos are sorted by day and place and pinned on a map, and you add notes to any day. It works offline and syncs when you are back online, friends on the trip can add their own photos and notes to the same TripBook, and you can switch on route recording for a trip if you want the route you took drawn on the map.
The app is free to download from the App Store, with an optional paid Pro plan. It runs on iPhone only.




Your trips deservemore than a camera roll

7. Finish the Journal and Turn It Into a Printed Book
When you get home, add a closing page while the trip is fresh: the last evening, the journey home and where you want to go next. Then decide what to keep it in.
A paper journal is lovely to hold, but it holds few photos. A printed photo book puts the photos and your words together:
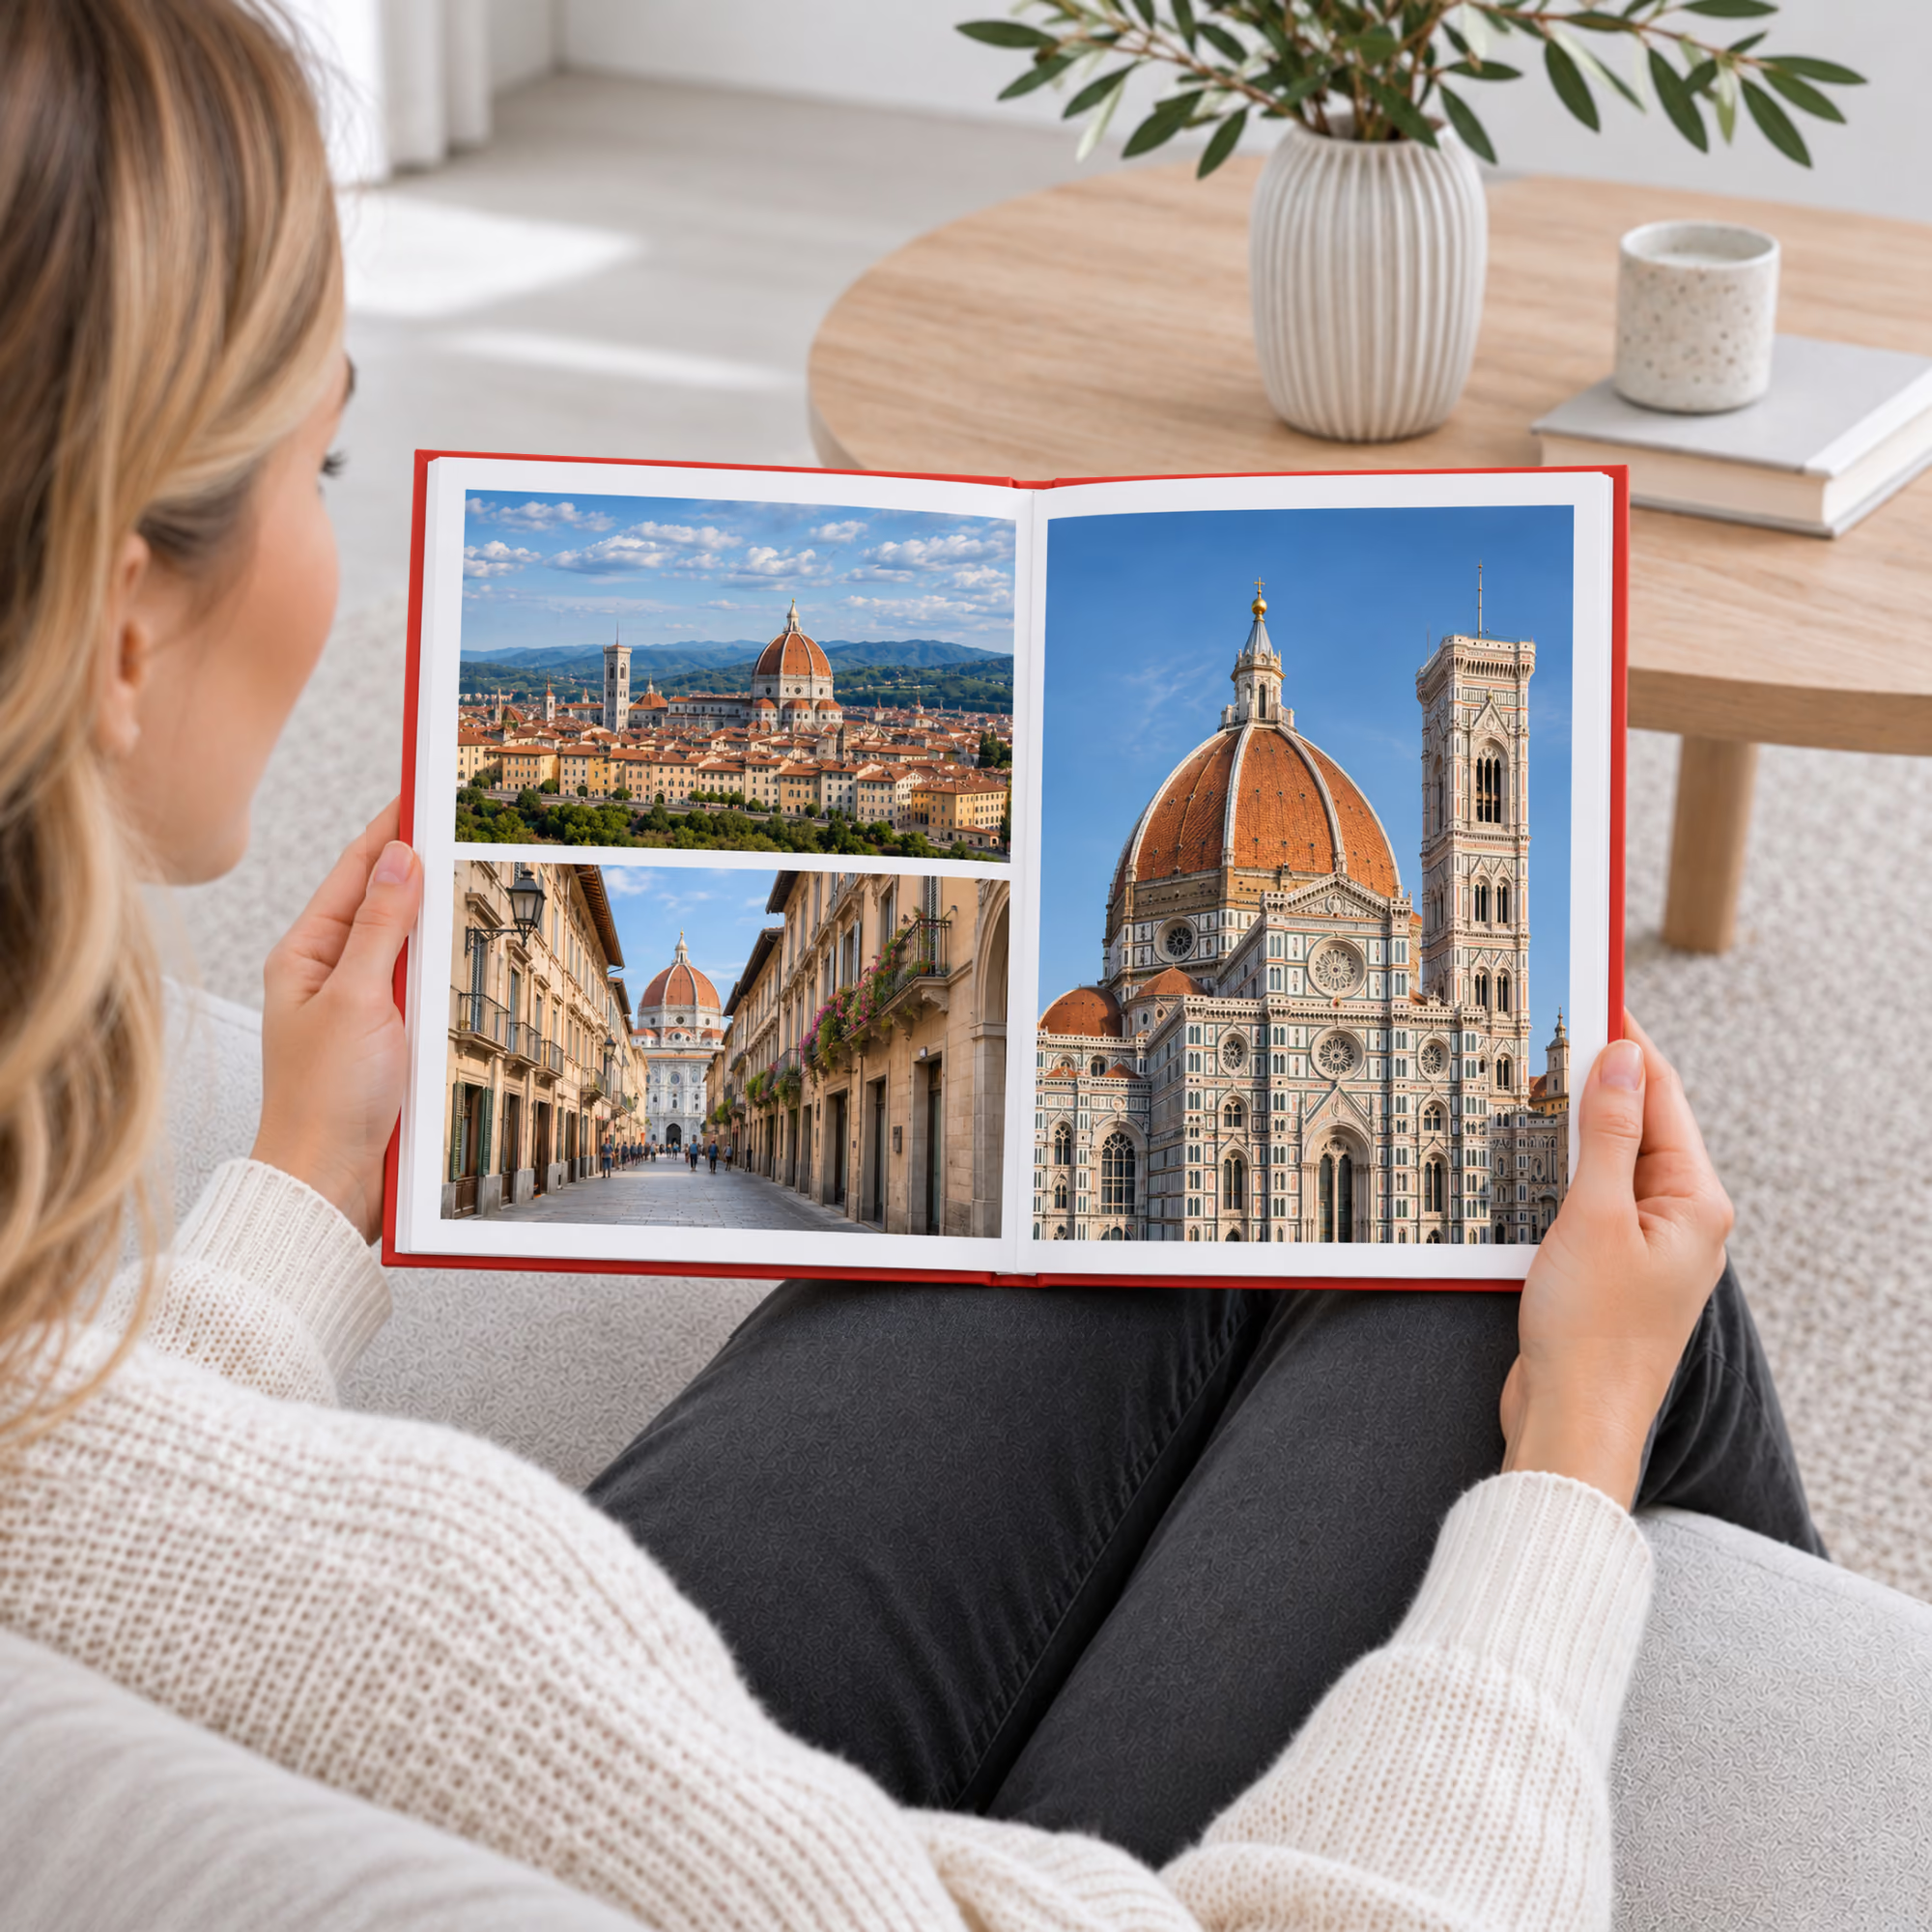
- From the TripMemo iPhone app, a TripBook you kept on the trip can be printed as a photo book, with your days and notes. With route recording on, the book prints the route you took on a satellite map.
- On the TripMemo website, you add your photos and we lay out every page in the order they were taken. Each page can hold your own words (up to 180 characters), so the best line from each day goes beside its photos. The book can open with a title page showing the outline of the country or US state it is for.
- Handwritten pages can go in too: photograph them flat in daylight and add them as photos.
Books come in hardcover, softcover or layflat, and you see every page before you order. For the whole process, see our guide to making a travel photo book.
How Much Does a Travel Journal Cost?
A plain notebook costs a few pounds or dollars; a leather traveler's notebook with inserts costs more. A homemade journal costs almost nothing beyond paper, card and thread. Our iPhone app is free to download, with an optional paid Pro plan. A printed TripMemo photo book of the trip starts at £28.49 for a hardcover or £26.49 for a softcover, before delivery.
Frequently Asked Questions
How do you make a travel journal?
Choose paper, an app or both. Pick or make a notebook, pack pens, glue, washi tape and an envelope, set up a title page and a map before you leave, then give each day the same simple structure and write for ten minutes each evening.
What do you need to make a travel journal?
A notebook with thick, acid-free paper, two pens that do not smudge, a glue stick, washi tape and an envelope for tickets. For a digital journal, your phone and a travel journal app.
How do you make a DIY travel journal?
Fold five or six sheets in half inside a folded sheet of card, pierce three holes along the fold, sew through them with waxed thread and tie the ends inside.
What should be on the first page of a travel journal?
The name of the trip, the dates and who is going, followed by a trip details page and a map.
Should I keep a travel journal on paper or on my phone?
Paper suits people who enjoy writing by hand. A phone is quicker and keeps photos, notes and places together. Many people do both.
How much does a travel journal cost?
A notebook costs a few pounds or dollars, and a homemade one almost nothing. A printed TripMemo hardcover photo book starts at £28.49 before delivery.
Can I turn my travel journal into a book?
Yes. Make a travel photo book of the trip and add your journal lines to its pages, or photograph your handwritten pages and add them as photos.