The Ultimate Guide to iPhone Travel Photography (2025 Edition)
You don't need a $3,000 camera to take world-class travel photos. Master composition, lighting, and editing with the device already in your pocket.
The best camera is the one you have with you. In 2025, that camera is almost certainly your phone.
Gone are the days when "phone photography" meant grainy, pixelated snapshots. Today’s smartphones rival professional DSLRs from just a few years ago. They have computational photography, multiple lenses, and raw editing capabilities.
But owning a Ferrari doesn't make you a race car driver. Owning an iPhone 16 Pro doesn't make you a photographer.
This guide is not about filters or trends. It is a deep dive into the timeless principles of photography—composition, lighting, and storytelling—adapted specifically for the mobile traveler. By the end of this post, you will stop taking "snapshots" and start creating art.
Part 1: The Settings You Need to Change (Right Now)
Before you even pack your bags, open your settings. Most phones are set up for convenience, not quality. Let's fix that.
1. Turn on the Grid
This is non-negotiable.
- iOS: Settings > Camera > Grid (Toggle ON).
- Android: Camera Settings > Grid lines.
The grid is your roadmap. It forces you to think about the Rule of Thirds (more on that later) and keeps your horizons straight. A crooked horizon screams "amateur."
2. Shoot in RAW (If You Can)
JPEG (or HEIC) files are compressed. The phone makes decisions for you—adding contrast, sharpening edges, and dumping data it thinks you don't need. RAW files keep everything. They look flat and gray initially, but they give you massive flexibility in editing. You can recover blown-out skies and brighten dark shadows without ruining the image.
- iOS: Settings > Camera > Formats > Apple ProRAW.
3. Clean Your Lens
This sounds stupidly simple, but 50% of "bad" phone photos are just greasy lens photos. Your phone lives in your pocket, your bag, and your sweaty hands. It is covered in oil. Wipe it on your shirt before every single shot. The difference in sharpness and contrast is immediate.
.webp&w=3840&q=75)

Join our newsletterfor Travellers
By subscribing, you agree to our privacy policy. Unsubscribe anytime.
Part 2: Composition – The Architecture of a Great Photo
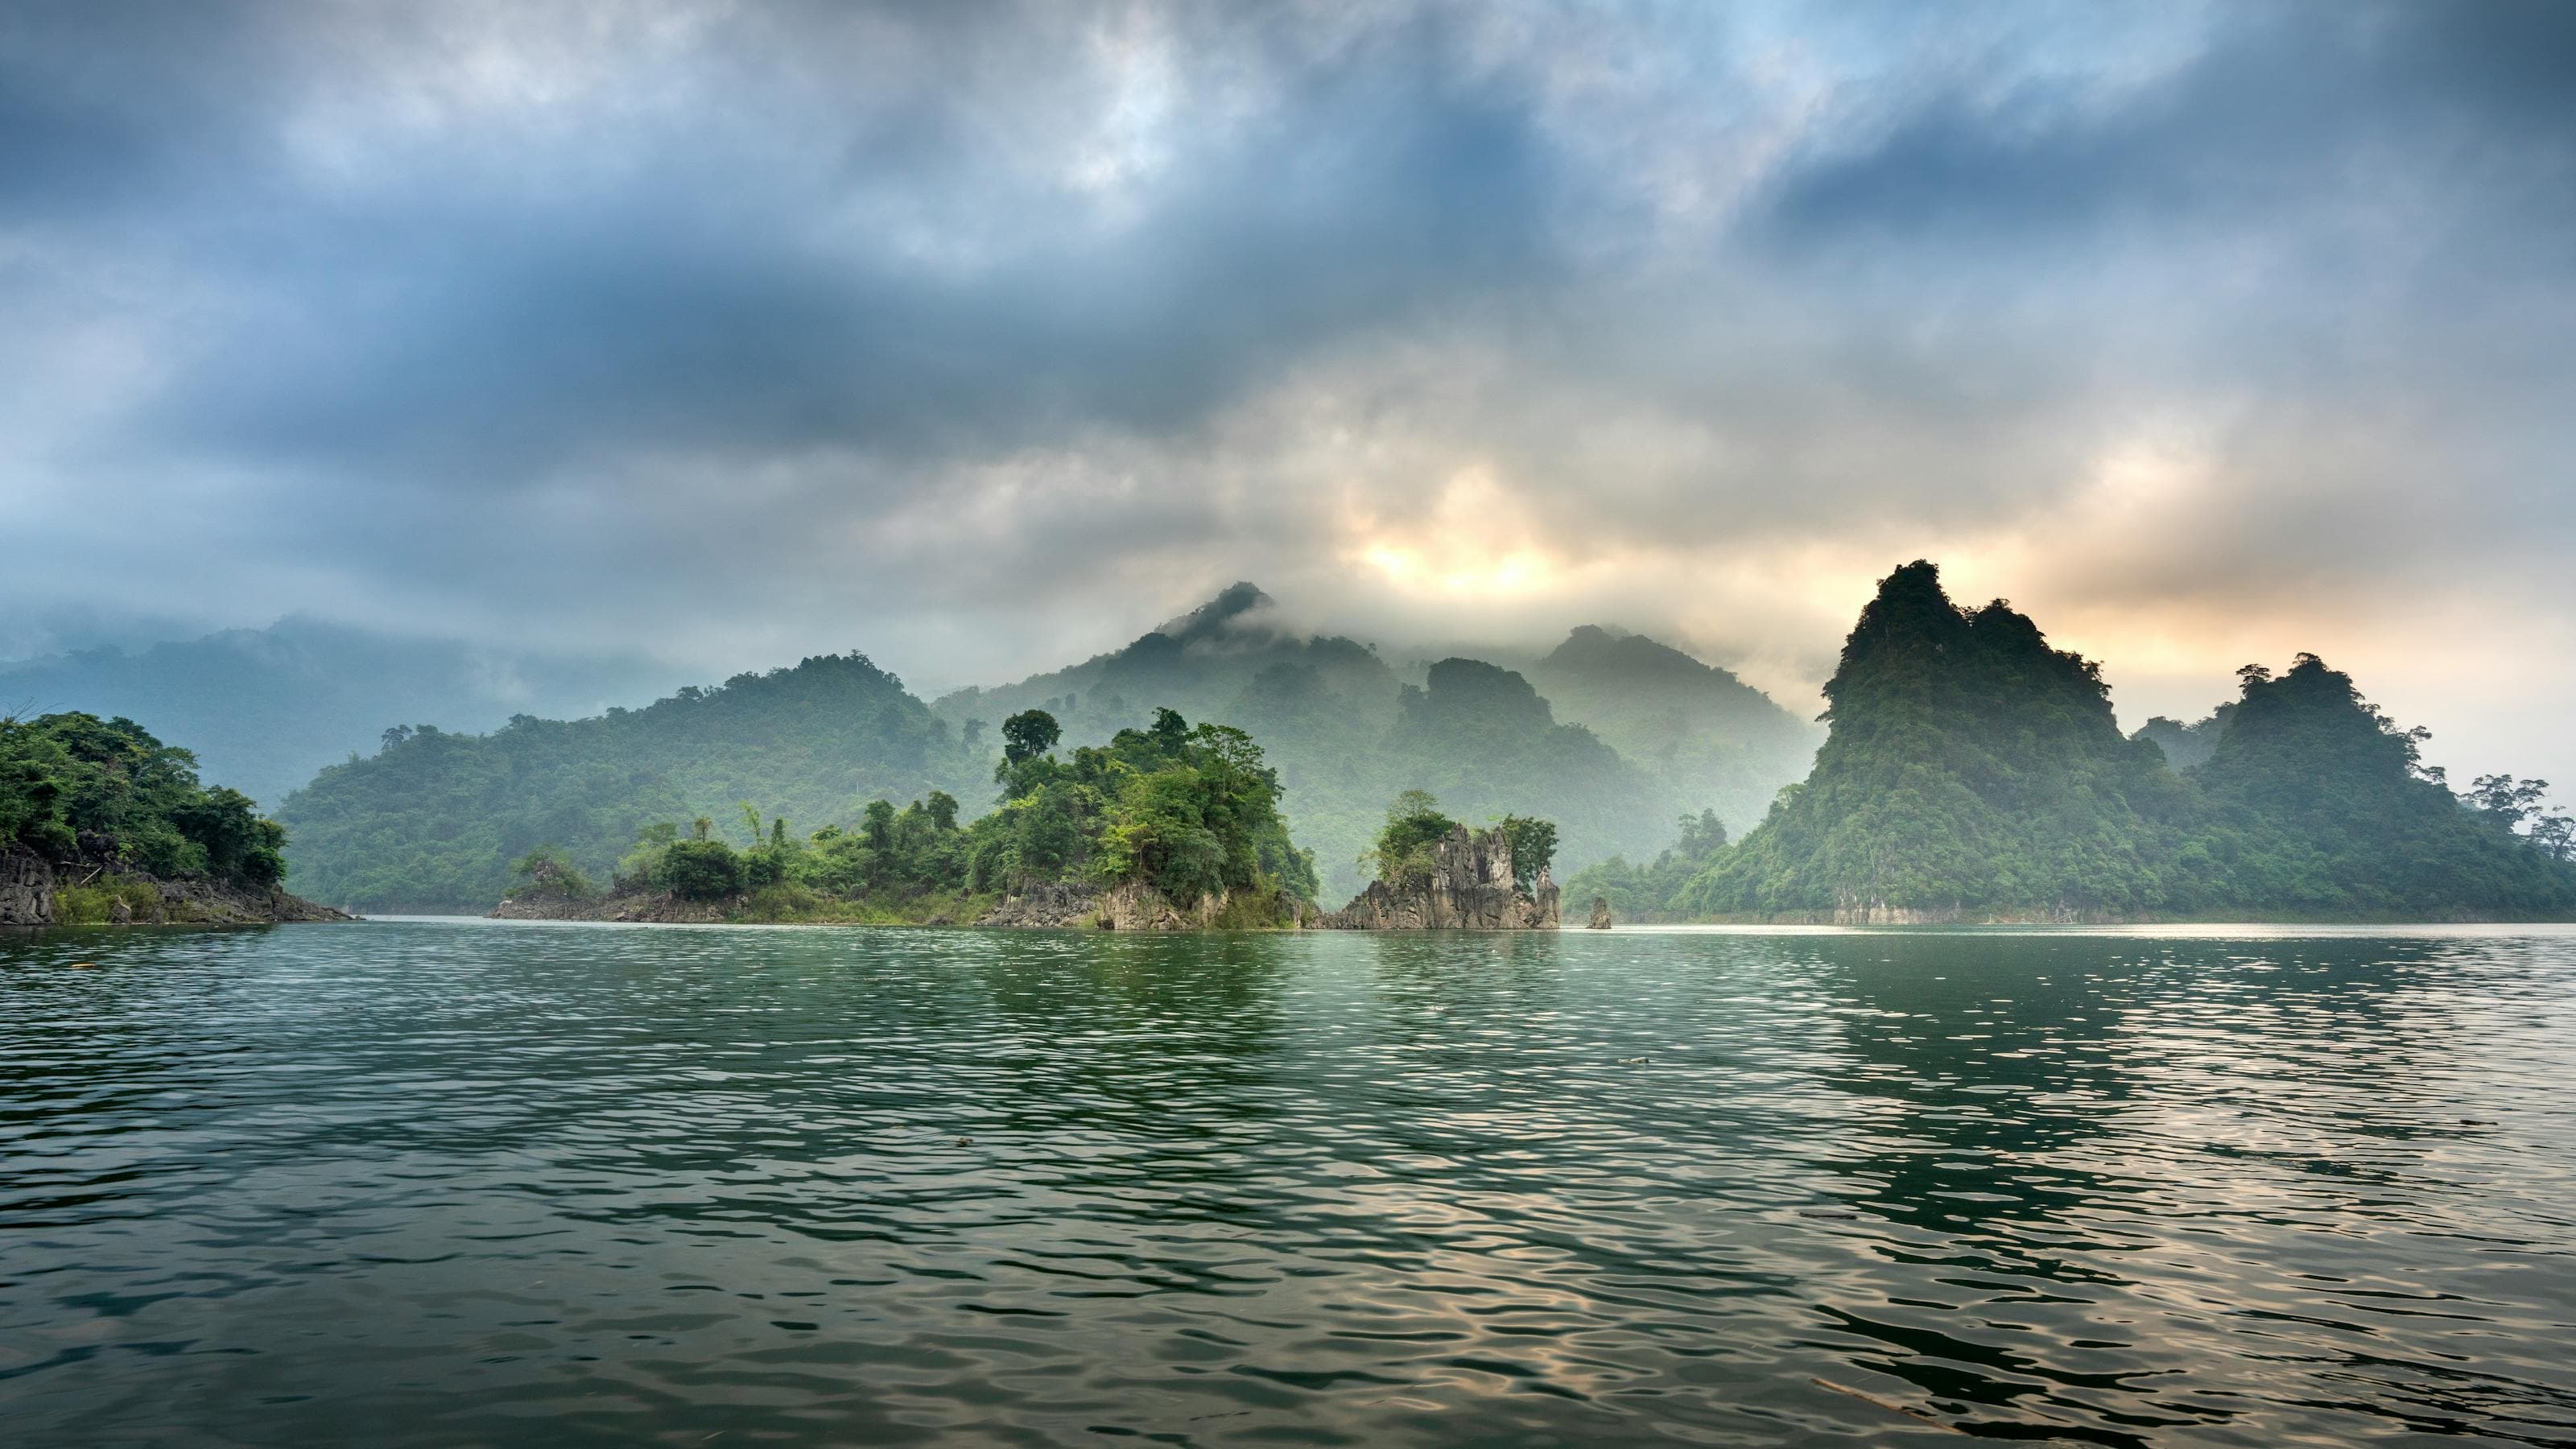
Composition is how you arrange elements in the frame. It’s the difference between "I took a picture of a mountain" and "I captured the majesty of the landscape."
The Rule of Thirds
Imagine your image is divided into 9 equal squares (that's why we turned on the grid). Never put your subject in the dead center. It’s static and boring. Instead, place your subject—the person, the tree, the building—along one of the grid lines or at an intersection point.
- Landscapes: Put the horizon on the top line (to emphasize the foreground) or the bottom line (to emphasize the sky). Never in the middle.
- Portraits: Put the subject's eyes on the top horizontal line.
Leading Lines
Your eye wants to be led. Use natural lines in the environment to point toward your subject.
- A road stretching into the distance.
- A row of columns in a cathedral.
- A railing on a bridge.
- The shoreline of a beach. Position yourself so these lines start at the corners of your frame and converge on your subject. It creates depth and 3D immersion on a 2D screen.
Framing
Create a "frame within a frame." Shoot through a window, an archway, some hanging leaves, or a gap in a fence. This adds context ("I am looking through something") and focuses the viewer's attention on the subject while adding a layer of foreground interest.
Negative Space
Don't fill every inch of the photo. Leave "breathing room." If you are photographing a lone hiker on a ridge, let the vast empty sky take up 70% of the shot. The emptiness emphasizes the smallness of the human, creating a sense of scale and awe.
%20copy%202.webp&w=384&q=75)
%20copy%203.webp&w=384&q=75)

Your trips deservemore than a camera roll
Part 3: Lighting – Chasing the Good Light
Photography literally means "painting with light." If the light is bad, the photo is bad.
The Golden Hour
The hour after sunrise and the hour before sunset. The sun is low in the sky, diffusing the light through more atmosphere. It casts a warm, soft, golden glow. Shadows are long and dramatic. Action: Plan your hero shots—the Eiffel Tower, the Grand Canyon, the Taj Mahal—for these times. Do not be eating dinner during sunset; be shooting.
The Blue Hour
The 20-30 minutes after the sun goes down (or before it rises). The sky turns a deep, rich cobalt blue. City lights start to twinkle on. This is the most magical time for cityscapes. The mix of natural blue light and artificial yellow streetlights creates a stunning color contrast.
Harsh Midday Sun (The Enemy)
Noon lighting is flat, harsh, and unflattering. It creates "raccoon eyes" (dark shadows in eye sockets) on people and washes out colors. The Fix:
- Find Shade: Move your subject under a tree or into an alleyway.
- Go Inside: Use this time for museums, interiors, or lunch.
- Embrace the Contrast: If you must shoot, switch to Black & White mode. High contrast looks gritty and cool in monochrome.
Part 4: Storytelling – Moving Beyond the Postcard
A postcard shows a place. A travel photo tells a story. TripMemo's travel photo journal app was built on this philosophy: context matters.
The "Establish, Detail, Action" Formula
To document a scene (e.g., a bustling market in Marrakech), take three types of shots:
- The Wide Shot (Establish): Step back. Capture the whole market, the chaos, the crowd, the sky. Set the scene.
- The Detail Shot: Get close. Photograph a pile of spices, a pair of hands exchanging money, the texture of a rug.
- The Action Shot: Capture movement. A vendor pouring tea, a motorbike whizzing by (use Burst mode), a laugh.
When you put these three together in your TripMemo journal, you recreate the feeling of being there.
The Human Element
Landscapes are pretty, but humans provide scale and emotion. Don't wait for the tourist to walk out of your frame—wait for them to walk into the perfect spot. Better yet, use a subject you know. Have your travel partner stand in the distance to show how big that waterfall really is.
Part 5: Editing – The Final Polish
Editing is not cheating; it's developing.
The Basics (Do this to every photo)
- Straighten: Fix that horizon.
- Crop: Cut out the trash can on the edge of the frame. Zoom in on the story.
- Exposure: Adjust brightness.
- Contrast: Boost it slightly to make the image pop.
- Warmth/White Balance: Does the photo look too blue? Warm it up to match what your eye saw.
Recommended Apps
- Lightroom Mobile: The gold standard. Powerful, free version is great.
- Snapseed: Google’s pro editor. Selective editing tools are incredible.
- VSCO: Great for film-like presets.
Conclusion: The Best Photo is the One You Print
We live in a digital age, but photos are meant to be seen. Don't let your 10/10 shots die in your Camera Roll. Upload them to TripMemo to map them. Print them for your wall. Make a book.
Photography is a muscle. The more you use it, the stronger it gets. So charge your battery, clean your lens, and get out there. The world is waiting for its close-up.
Related reading:


